


Don Brann’s Piper PA-18
Written by Don Brann Don Brann discusses his Piper PA-18 Featured in Stan Alexander's RC Scale Column in Model Aviation June 2015.
A friend in our club (Etowah RC Club) purchased a Hanger 9 PA-18 and changed the color scheme to be different, as there were already several others in the club. After considerable flights and some banner towing with this ship, he was on his way home from the field one day, with the Cub fuselage on the floor of his van [and] the wings safely supported under the roof, when a driver suddenly pulled out in front [of him], causing him to swerve. His lunch cooler and tool box fell on the fuselage and wiped out almost everything from the firewall to the empennage. I already had a standard-color PA-18, not flown as yet, but was essential for checking measurements in the rebuild. My friend gave me the plane and I decided to rebuild it. Photos show what I had to work with. I ordered two [12 x 24-inch] sheets of 3/32-inch aircraft plywood from our local Hobby House. Fortunately, the wing airfoil was represented by the part formerly on the fuselage, but its connection to the rest of the fuselage was missing, except in small pieces. Enough pieces were found to closely match the original and [were] glued in place temporarily to enable a template to be made of the left side. The plywood sheets were then temporarily glued together and cutouts marked. Cuts that were the same on each side were then cut. The ply sheets were then separated and the balance of the holes cut from both sides. Now all [of the] remaining fuselage cabin damaged area was cut away, down to the ply floor [and] leaving a very unstable fuse that sagged out of shape until two long balsa rods were glued in place, holding the rear of the fuse to the cabin area in the proper register with the firewall. The plywood sides were then glued in place using triangle stock at the floor for additional glue area and support. The interior was sprayed gray to match the original. There was damage to the structure behind and below the firewall that was replaced. The fuse was recovered and the color scheme simplified, and a typical [white] Piper lightning bolt [was] added. New windows were installed and the cowl reconfigured for the AGM 30 engine to be used. My friend had some of the green paint left, which he graciously gave me to use where needed. The entire process took a little less than seven weeks, so now there are two PA-18s in my livery as well as a Hanger 9 J-3 Cub on wheels and floats. The floats fit all three ships! All told, the expense for material was less than $100. Of course, I then had to add the radio and engine. The street price for the ARF is $650. Most of my enjoyment comes from the building, but when summer returns I’m sure I will enjoy flying this great bird.
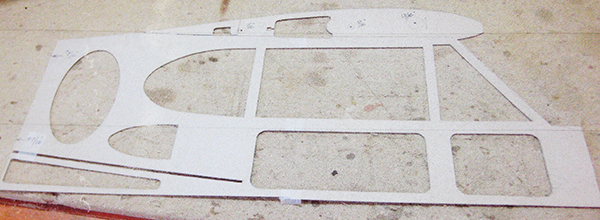
Don made cardboard templates for the new cabin.

After rebuilding the left side of the fuselage, Don used this outline for the right-side template.
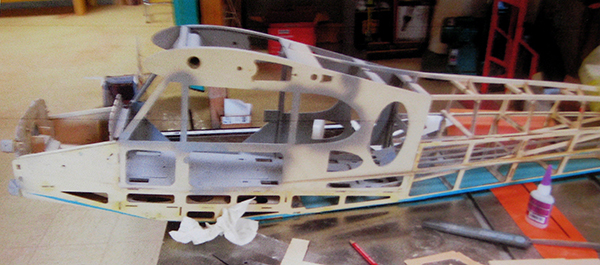
Don added two long balsa sticks to stabilize the fuse.
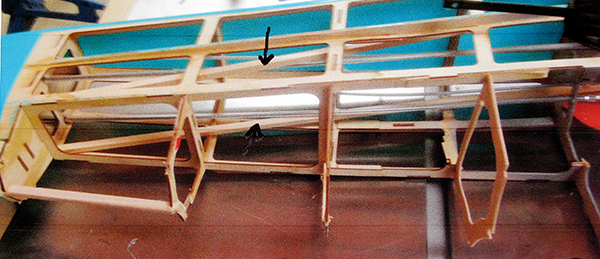
Here you can see the balsa sticks from tail to the front.

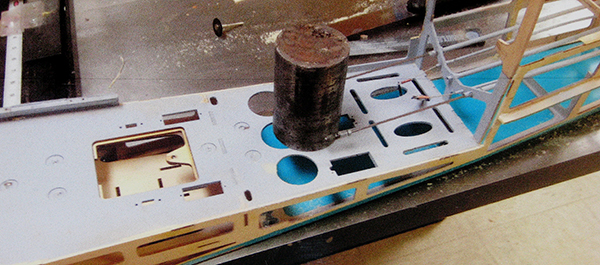
This photo shows the inside cabin sprayed to match the original color scheme.

The cabin top has been rebuilt and installed.
Here, the fuselage is taking its final shape and is nearly ready for covering.

Covered and painted, Don’s project is ready for the windows, cowl, and engine.
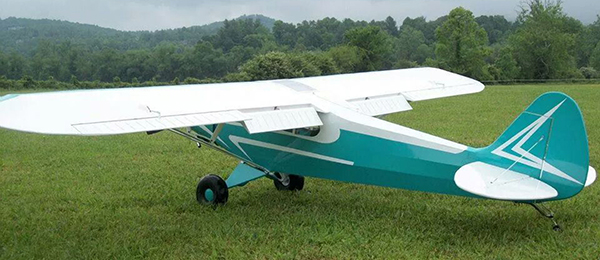
Don’s finished model.
This Month's Issue

Join the AMA
![]()


2 comments
Don Brann's Piper PA-18
PA-18
Add new comment