


DO-IT-YOURSELF LASER CUTTING
Written by Fitz Walker Use technology to your advantage As seen in the July 2020 issue of Model Aviation. Feature
This is the 21st century, and we live in an era of highly refined, mostly prebuilt, ready-to-fly models. There is a seemingly endless variety of prefabricated foam, composite, and wood aircraft from which to choose. I say seemingly because there are still plenty of designs that are either no longer made or only exist as plans.
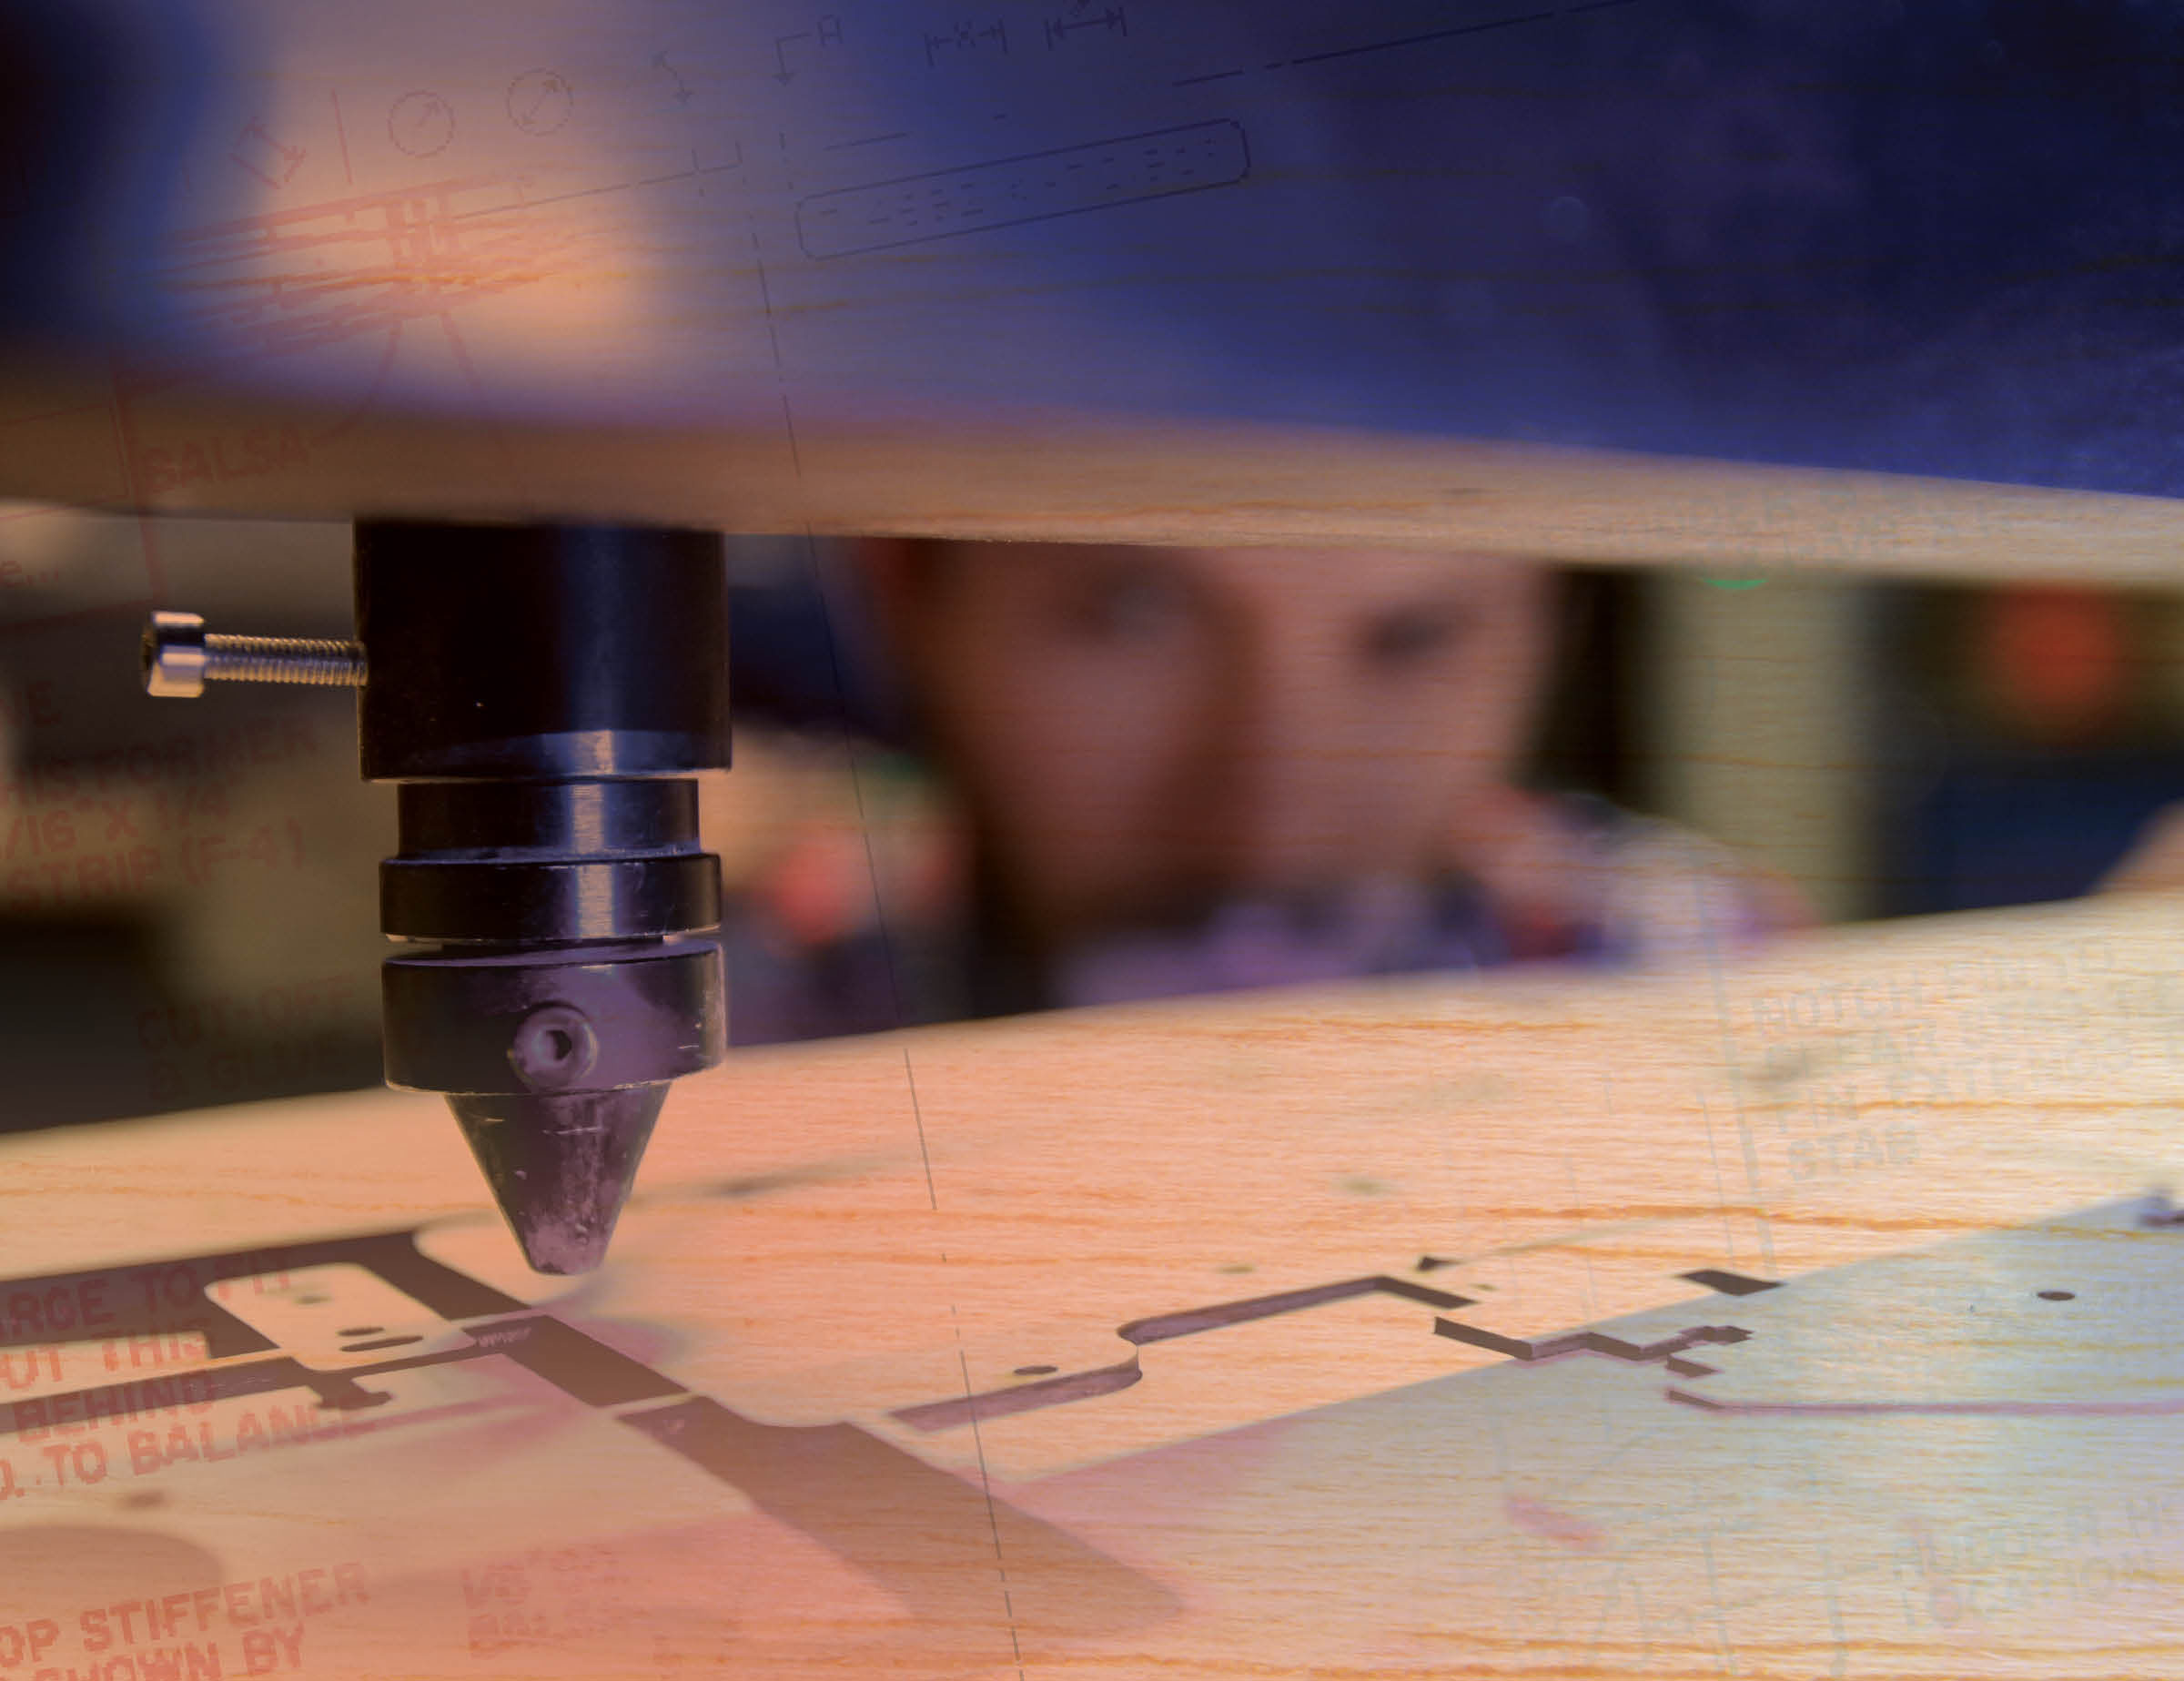
For these models, your only option is to build from scratch, especially for those of us who still like to build kits the old-fashioned way. It can be a rewarding process, but it can also be daunting because of the amount of work involved. Fortunately, great tools, such as laser cutters, are available to make the process easier and more fun than in the past.
Using a laser to cut balsa is not new; however, the dramatic decrease in the cost of laser-cutting machines means that they are no longer reserved only for business use. Machines can be found online for less than $1,000 and even for just a few hundred dollars, if you are not looking for something fancy. If you are not inclined to shell out the money for one, you can often find them for use at your local Makerspace.
A Makerspace is a nonprofit club dedicated to do-it-yourselfers. It is common to see equipment such as CNC mills, lathes, 3D printers, and such (the one near me even has a forge), but they almost always have a laser cutter. There is usually at least one Makerspace in any metropolitan area, and certainly one in every state. The membership dues are usually reasonable, and it typically includes free equipment usage.
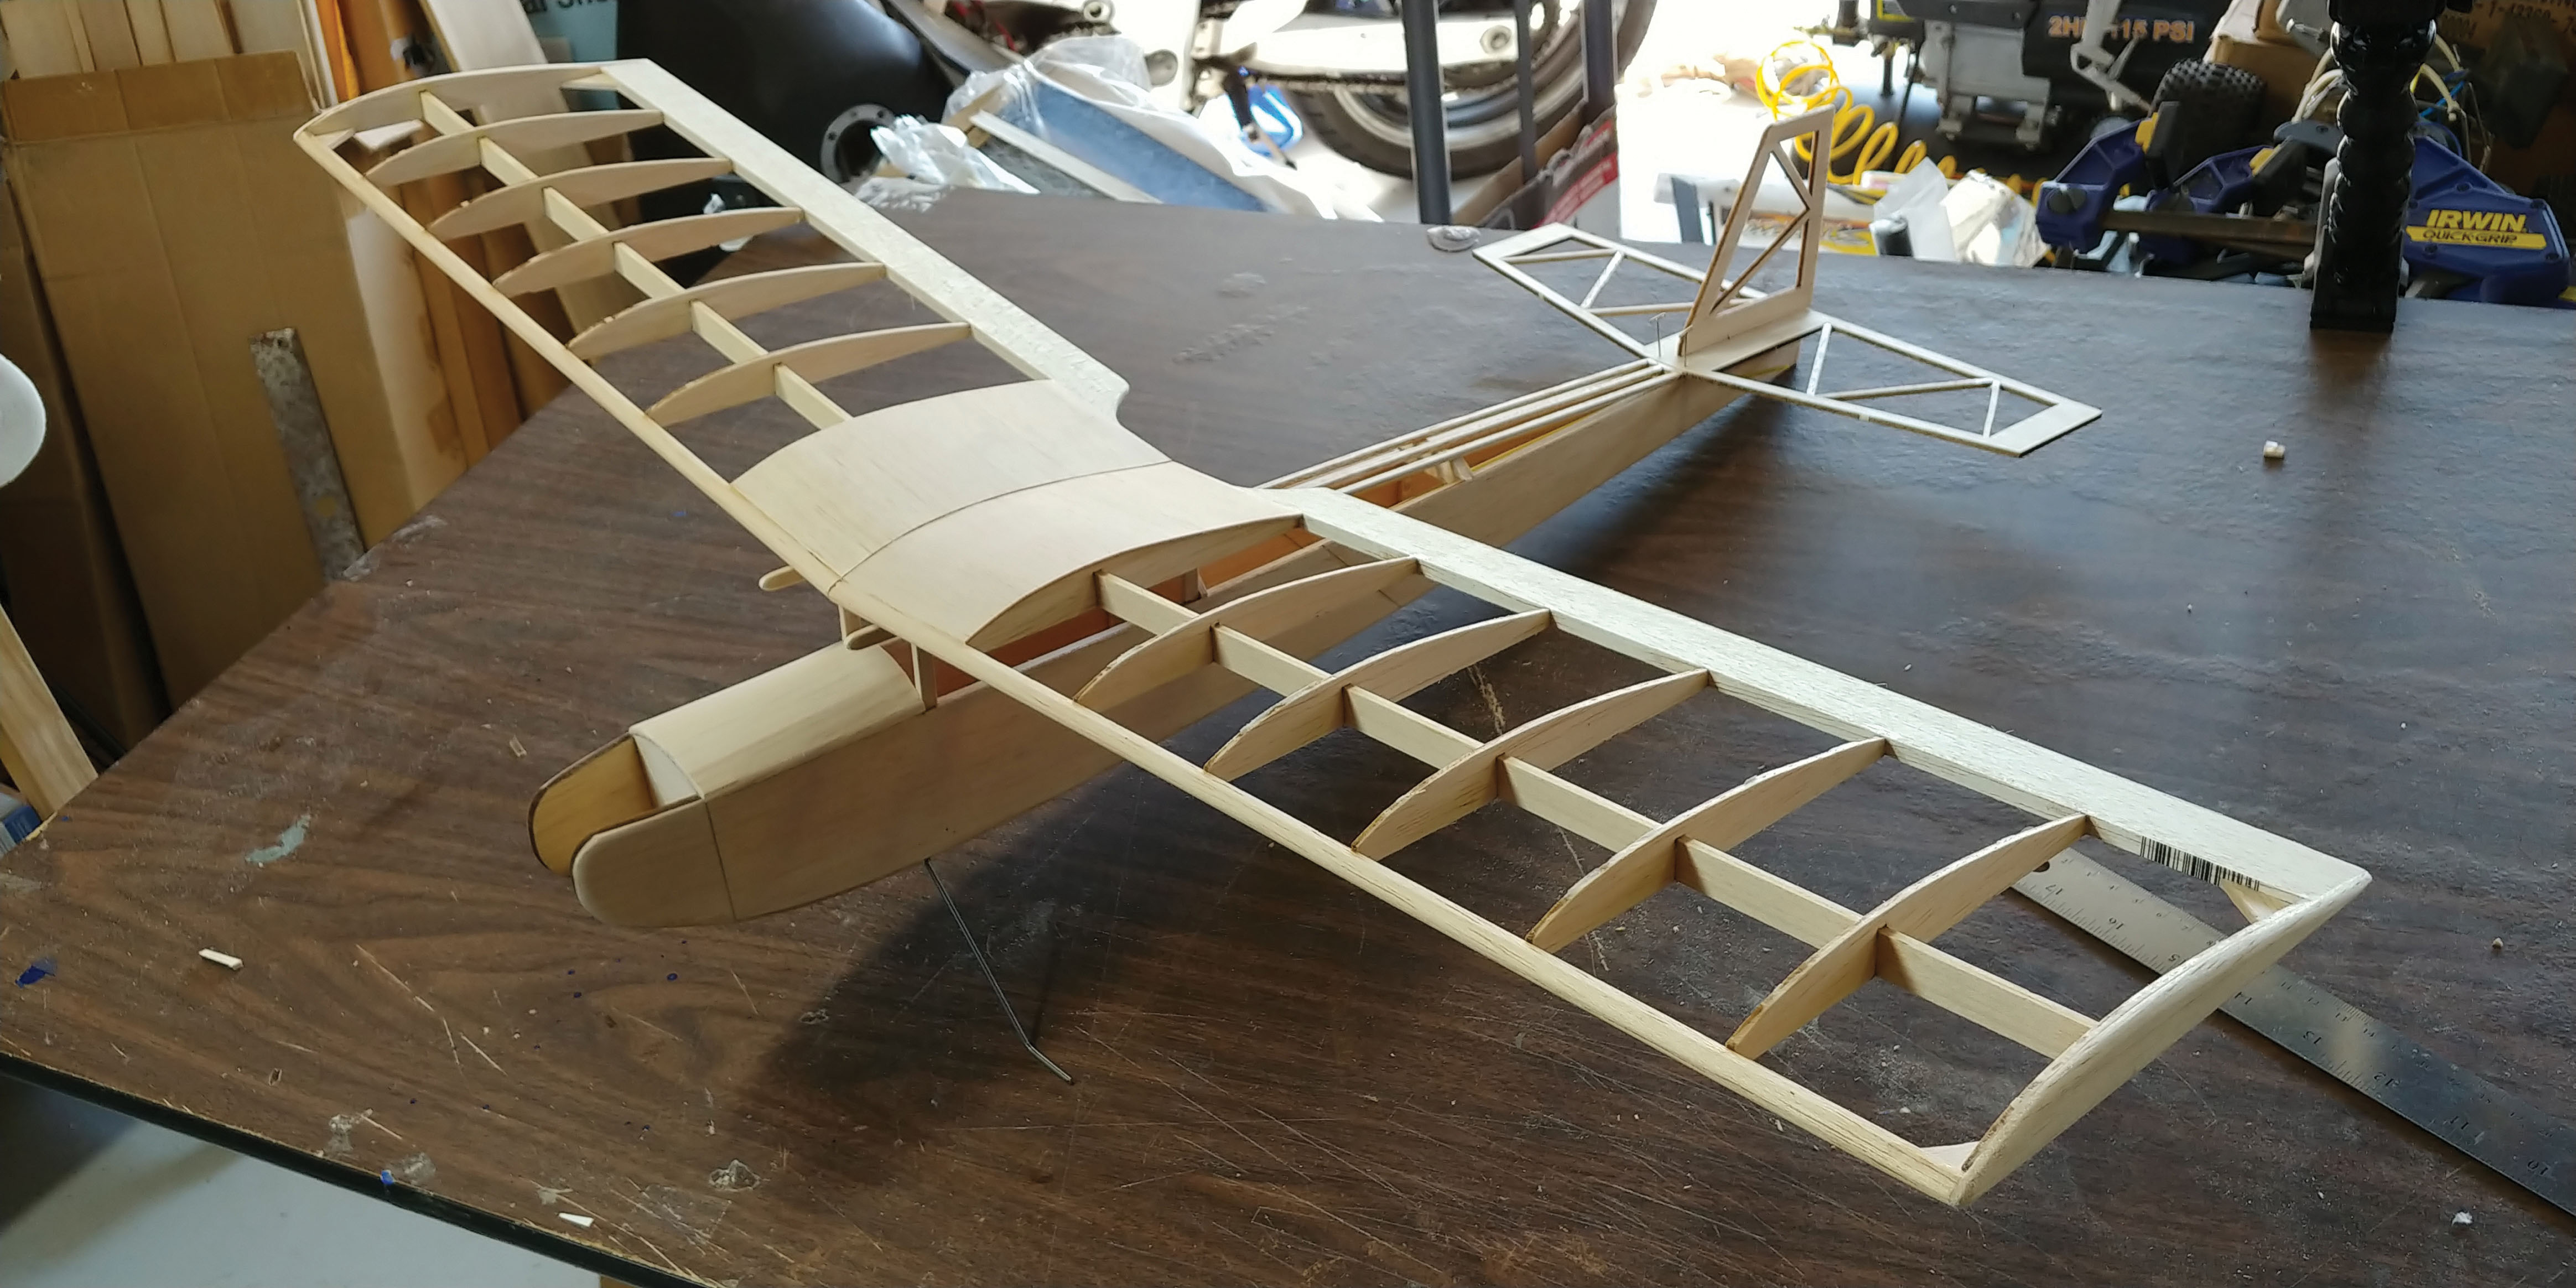
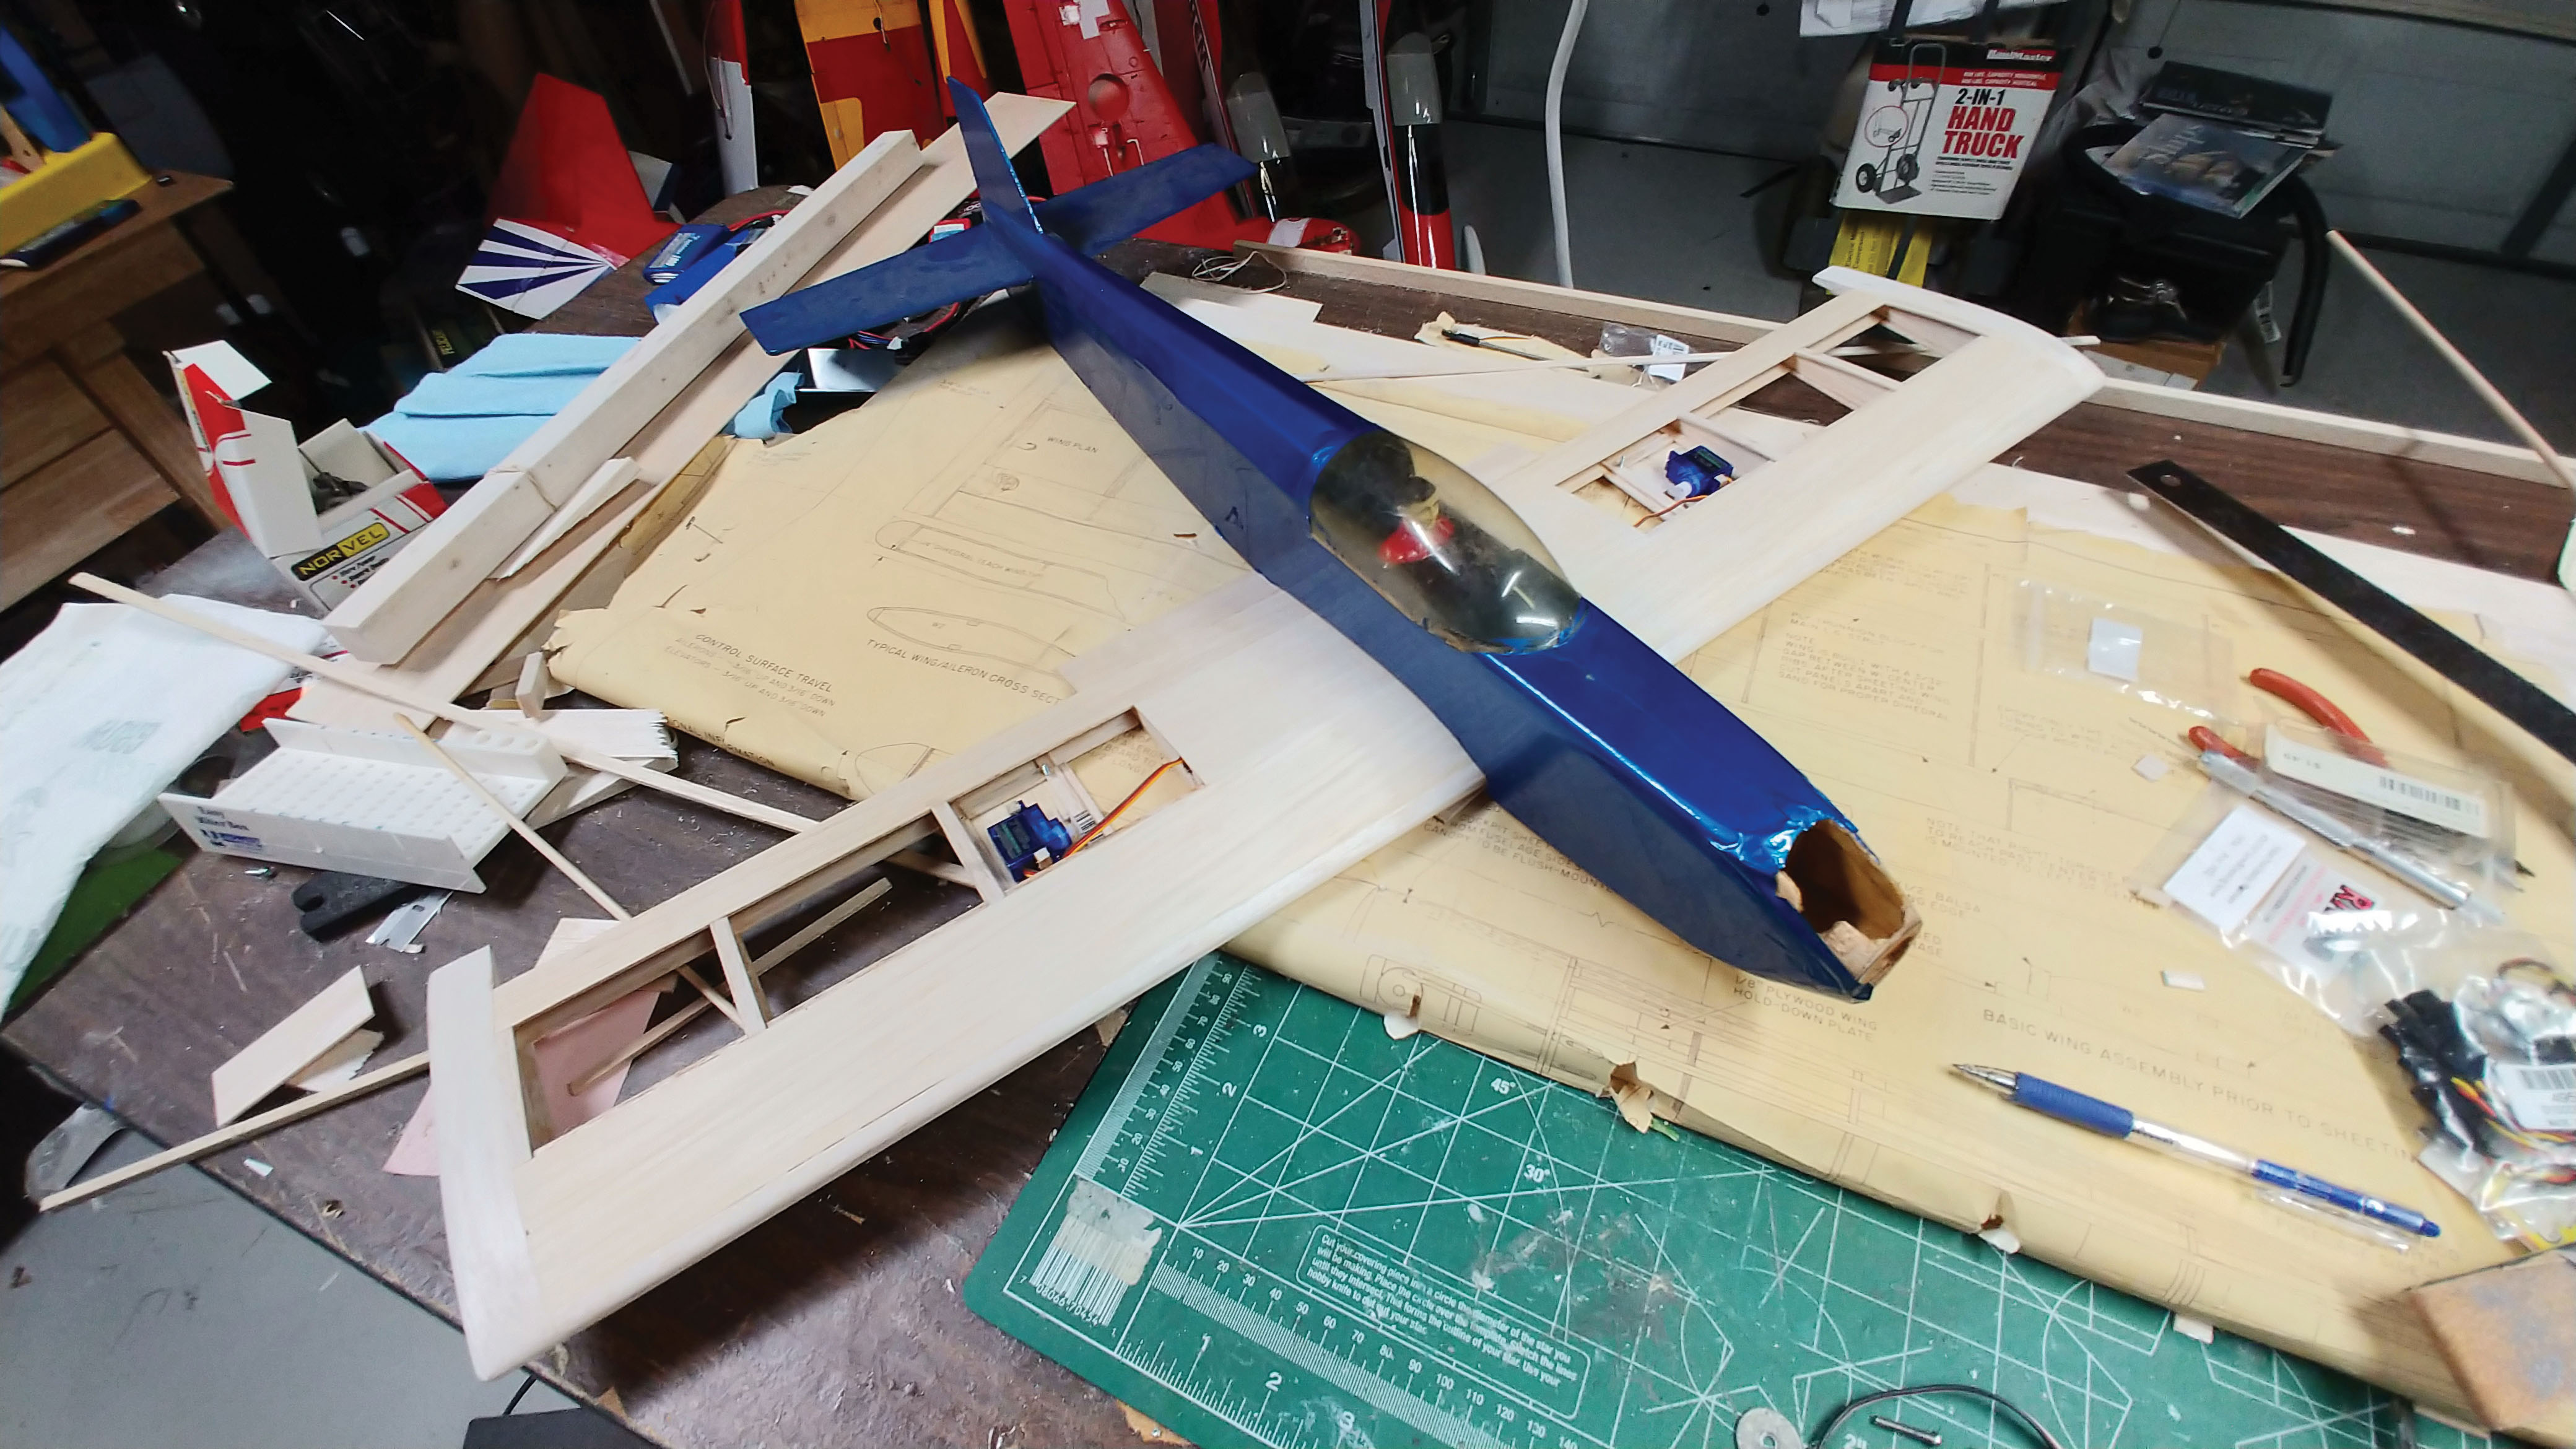
Now that you know where you can obtain a laser cutter or the use of one, let’s see you go about using it. I’ve scratch-built several models using a laser cutter to make my own wing ribs, bulkheads, and whatever else I felt like. I’ve even made laser-cut repair and replacement parts for various wood and foam ARFs.
I’m often asked what processes I use to custom make my own laser-cut wood parts. This process is not hard, but it does require taking certain steps.
For good cuts, you’ll need to create what is called a vector file. This is a highly accurate file format that is usually generated by a 2D CAD program. Although most laser cutters can use raster files (think pixel-based picture files such as a GIF), this type of format is poorly suited for our purposes. Vector images, on the other hand, use mathematical calculations to produce scalable drawings that can be enlarged or shrunk without producing jagged lines. This file type makes for accurate cuts. You will need to find a suitable CAD program to generate your vector drawing.
If that prospect scares you, don’t worry. The process is straightforward, and you only need to learn a few basic concepts for working in CAD. There are many choices of programs, including some free options. The one that I prefer to use is called devCad, which is specifically geared toward modelers. It’s a 2D-only drawing program, easy to learn, and has a variety of tutorials. Regardless, any 2D-capable CAD program can be used by following basic steps.

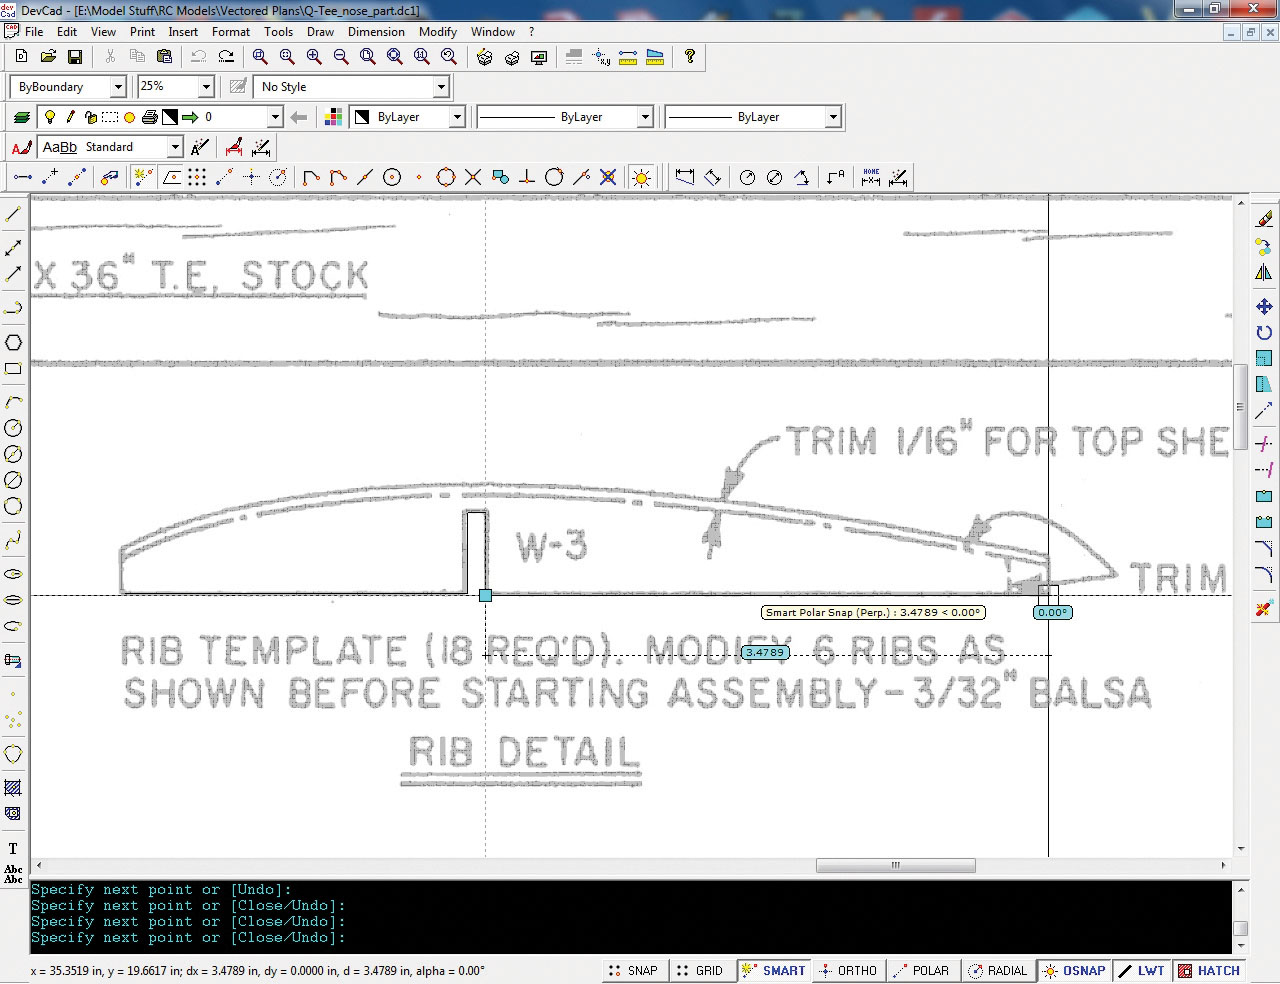
First, you will need to convert the parts drawn on the plans into the aforementioned vectored CAD format. If you are starting with paper plans, it will be necessary to scan it into an image (usually a GIF or JPG but can also be PDF format) file at a local copy company that does large formats. If you are lucky, the plans might already exist in electronic format, making you one step closer to laser goodness.
Next, import that raster image into the CAD program, then trace over the image. By manually drawing over the image, you create a vectored version of the plans.
Unfortunately, there is no automated way to convert the raster image into a vectored format with any consistency or accuracy. Although this might change in the future, I’ve yet to hear of success with any of the advertised automatic vectoring programs.
With the plans set as a background image, you will need to set the correct scaling in your CAD program. If you don’t do this, the program has no reference for the true size of the parts. Some plans have a scale somewhere on the sheet for reference. If not, you can just measure a component of known size with calipers to use as a reference.
The software included with many laser cutters uses metric units, so unless you are certain that the cutter can be switched to English units, it is best to measure and draw everything as metric. Each CAD program has its own way of doing this. devCad has an online tutorial on how to calibrate the background image to the actual size.
Now, draw over the parts you want to cut. If you are new to CAD, try tracing over simple parts first. After a while, you will get the hang of how to connect lines, plot out curves, and manipulate line breaks for stringer cutouts, etc. If you get stuck, there is probably an online video that will help you along.
One of the great features of devCad is the ability to "snap" to background graphics. This means that the program detects the lines of the background image and attempts to self-align with them. Although you still have to manually trace over the image, devCad helps tracing by "snapping" the cursor to lines on the image when you start or end a new line or intersection. It works surprisingly well.
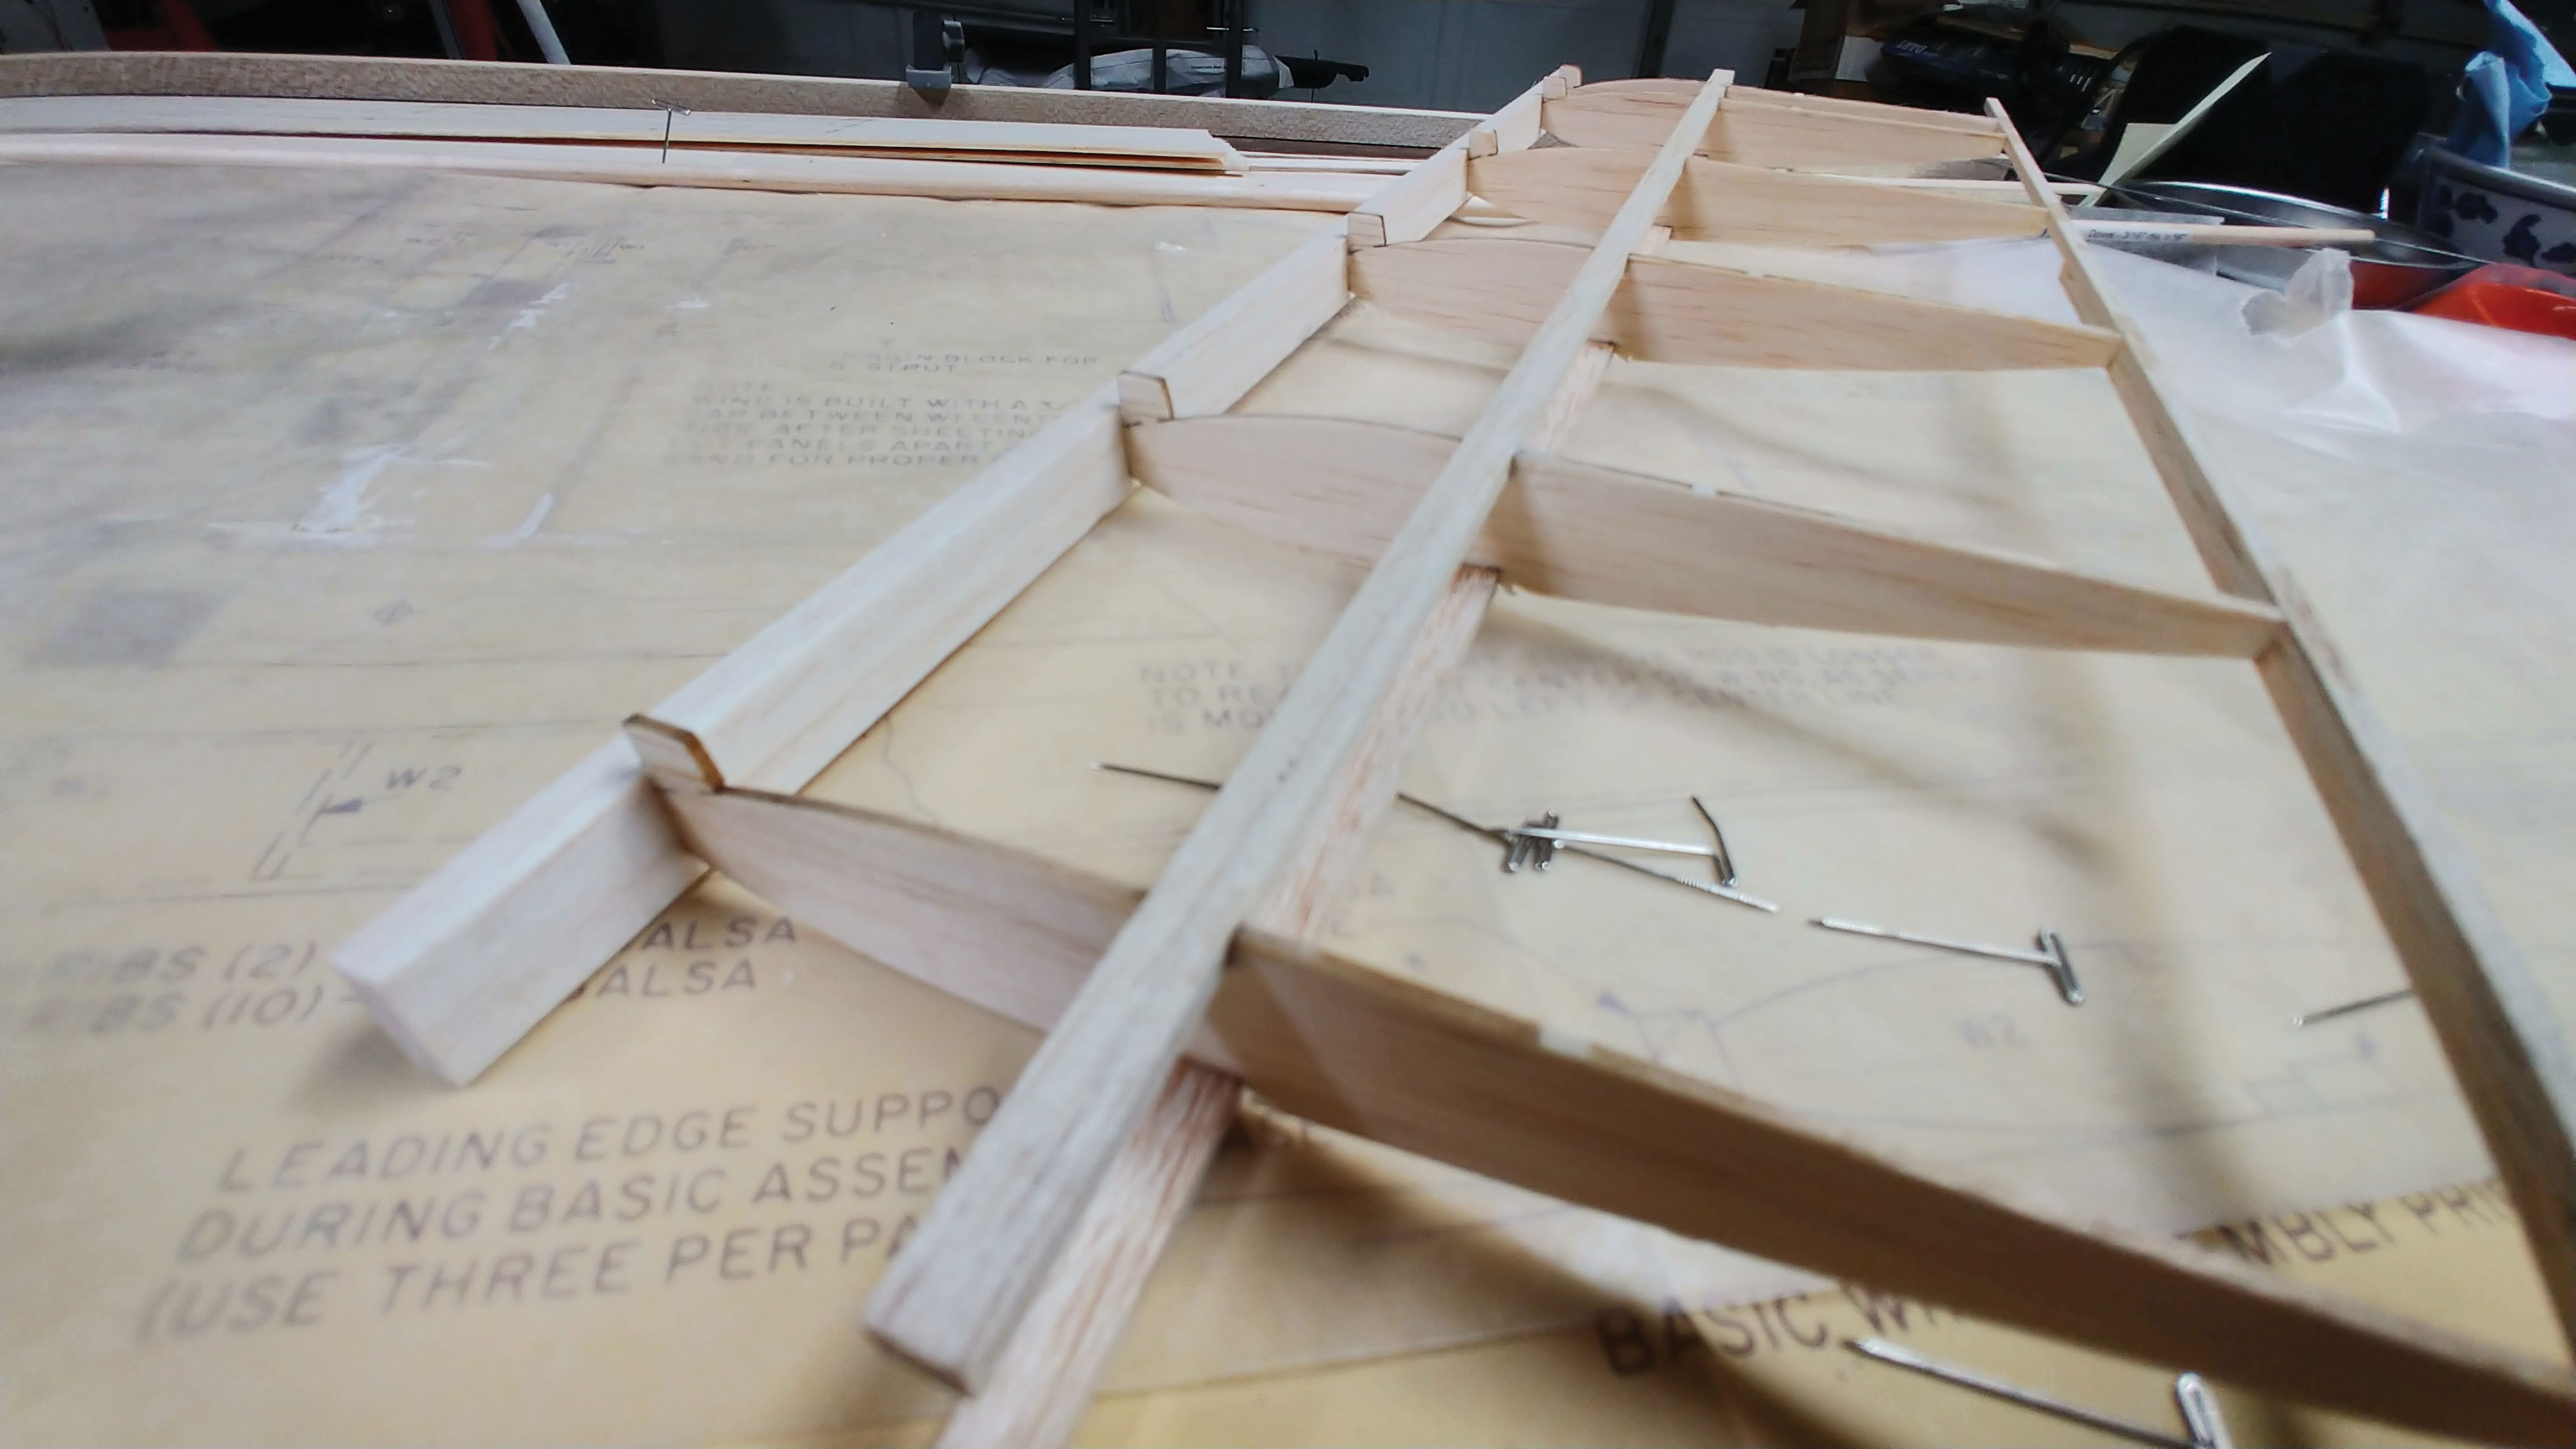
Another time-saver is that if you need to make several duplicate parts, such as constant chord wing ribs, you only need to draw one part then copy and paste the rest to clone them. After you’ve had some practice, this process can quickly be completed.
When you’ve finished tracing the parts, you need to export and save the file into something that the laser cutter’s software can recognize. I’ve always used the AutoCAD format (the .dxf file extension) because it is an industry standard. Be sure to arrange all of the parts that are to be cut into an area no larger than the wood sheet size you will be using. Another advantage of the CAD program is its ability to select and drag parts around to arrange them neatly for cutting.
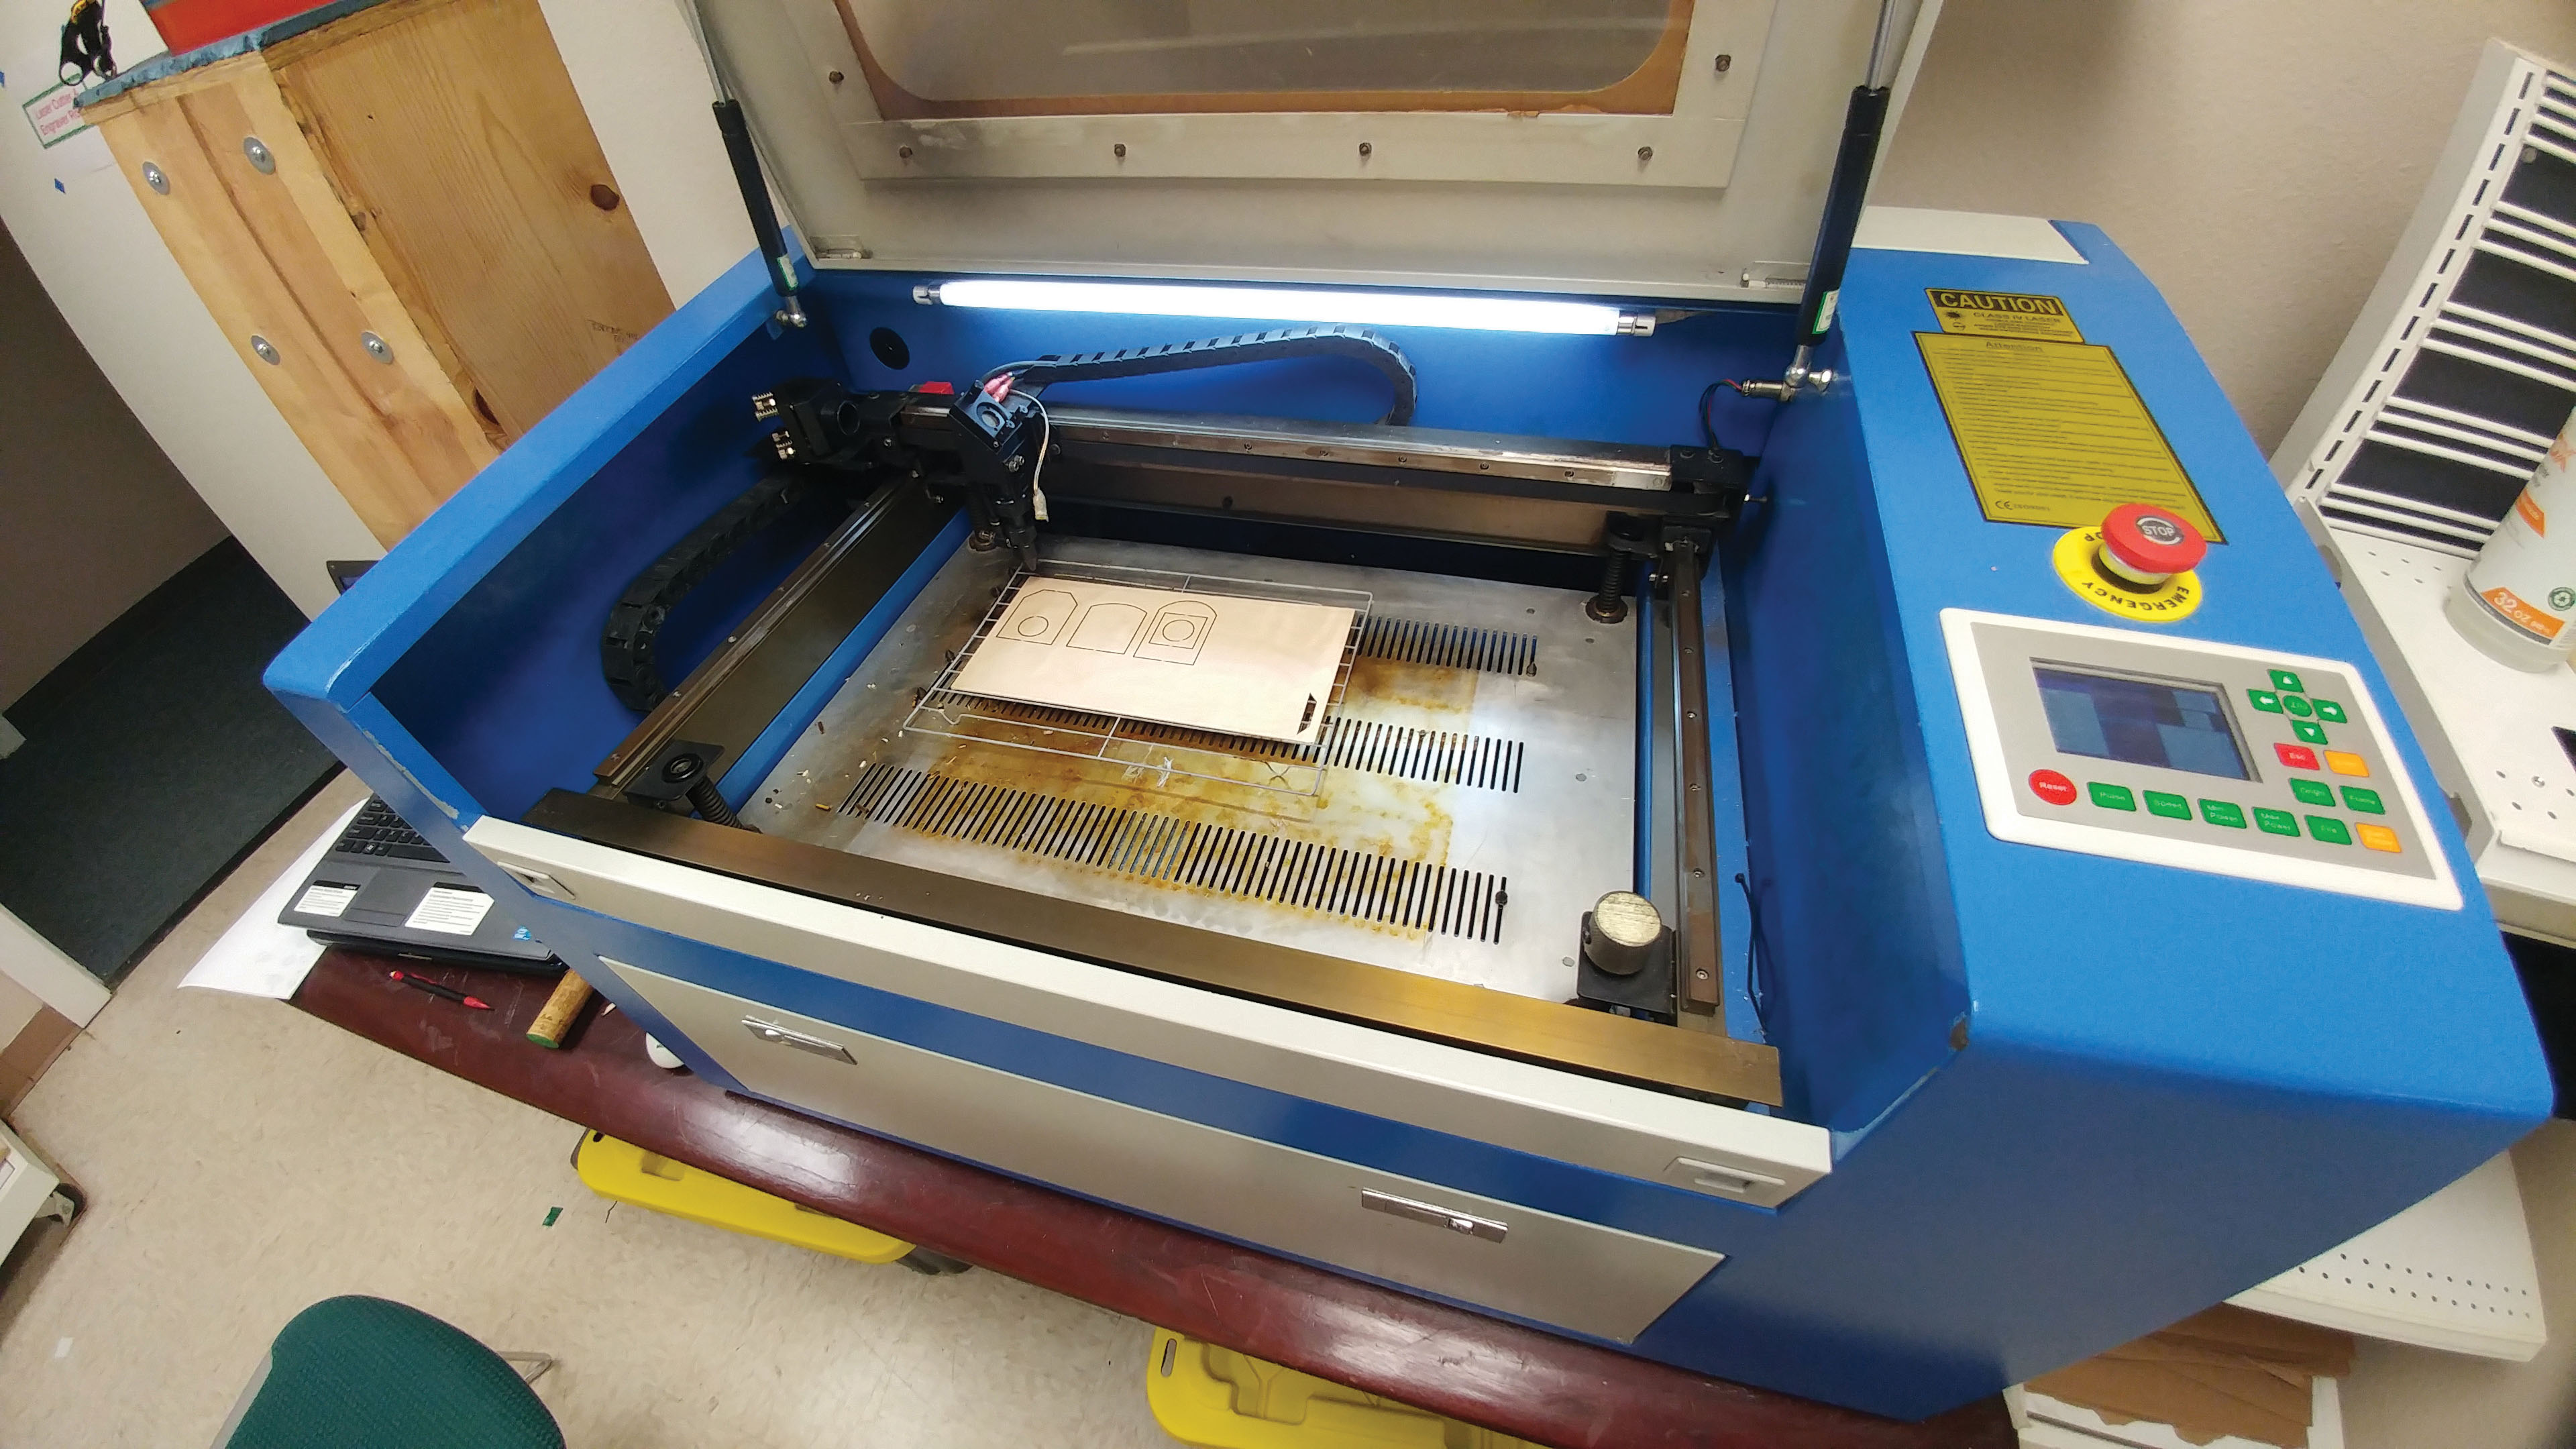
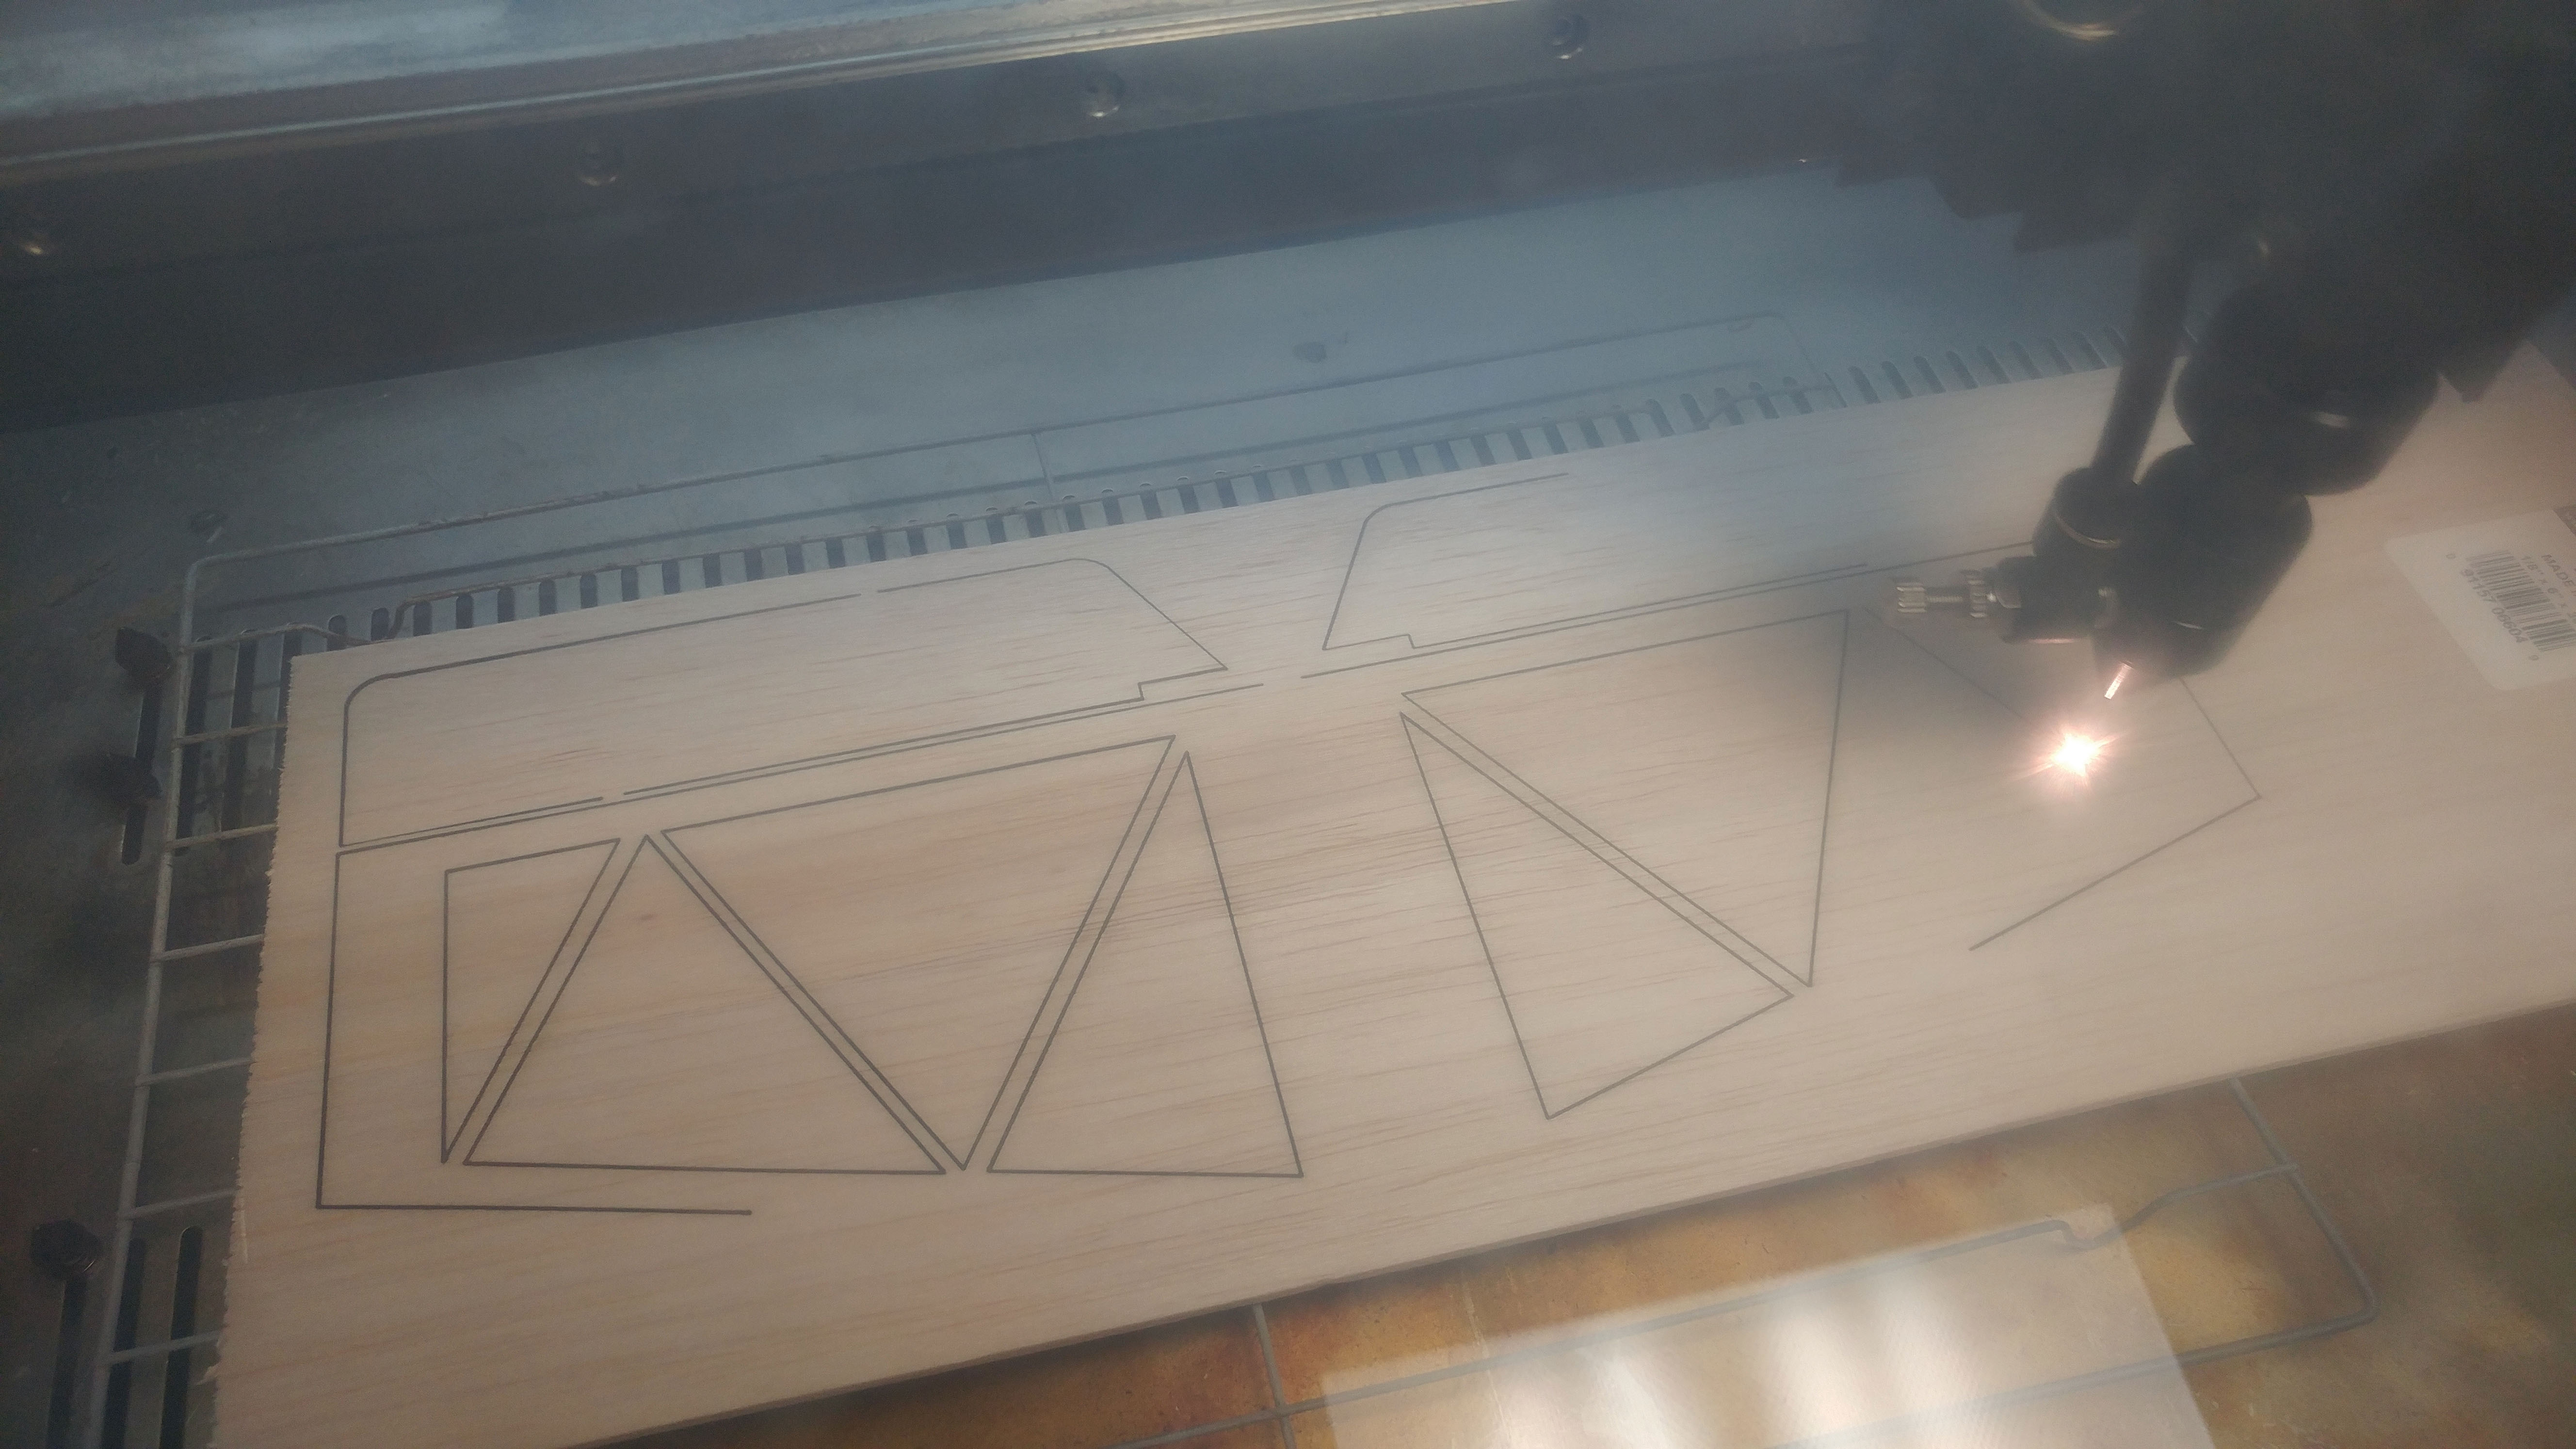
I won’t go into the specifics of the laser printer software because different models will have their own nuances. The process is generally simple: Import your CAD file, set the power level, and press start. Well, it’s slightly more involved, but you get the idea. Note that the laser’s power settings are part science and part art. Your first cuts will likely be either too strong or too weak because the power that is required depends on the wood density and thickness and the condition of the laser’s gas tube, among other things, so bring extra wood.
Laser cutters are rated in watts. Most good cutters are at least 40 watts and tend to use sealed CO2 tubes as the laser emitter. These can cut balsa and plywood in pretty much any thickness that is typically used by modelers (although thicker plywood might need multiple passes) and start at a few hundred dollars. Avoid the inexpensive, solid-state, laser-diode-type cutters because they are only a few watts of power and are reserved for engraving or cutting extremely thin balsa.
One final trick is to leave a couple of broken or noncontinuous lines on each part so that they don’t fall off the sheet after being cut. Remember that these laser cutters can harm your eyes, so always treat the machines with respect and follow recommended safety guidelines.
There you have it. I’ve found being able to make my own laser-cut parts to be a fun and rewarding skillset to aid in my scratch-building activities.
The ability to scratch-build long-out-of-production aircraft, make your own custom designs, or even repair damaged airplanes easily and accurately, is a great utility. Don’t be afraid to give it a shot. At worst, you will learn something.
SOURCES:
devCad software
This Month's Issue

Join the AMA
![]()


15 comments
Laser cutting
My 40w laser cutter will
Lasers
Laser Cutting
Laser choice
Even More is possible....
laser cutting costs
Heaps of high quality, free
laser cutting costs
boy i hope to try this soon.
Laser Cutting
Raster to Vector Software - Available
I use Corel Draw Home and
Useful article
Fuselage Sides
Add new comment