


Heli Maintenance Tips
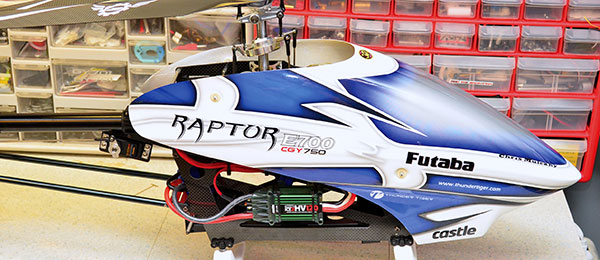
Written by Chris Mulcahy RC Helicopters Column As seen in the February 2014 issue of Model Aviation.
For many of us, these early months of the year are cold, with wintery weather in full swing. This limits our flying time outside. Although it is a good time to get in some simulator practice, it is also a great time to tear down our helicopters for some maintenance. Our helis talk to us when they fly, and we learn to listen to them and identify potential problems by the sounds they make. However, many problems can develop without giving us any kind of audible warning, and this is where regular maintenance can really pay off. Maintenance can be performed anytime, and is not limited to winter projects. The more opportunities you have to go through your heli setup, the better. Disassembling our helis provides us the opportunity to inspect parts that we can’t typically see. I like to start with the main rotor head and pull the blade grips off to check all of the bearings. I inspect the bearings, making sure they are smooth, and clean and regrease the thrust bearings. Depending on if the machine is electric or nitro powered, I’ll clean all of the parts before reassembling. Automotive brake cleaner is great for cleaning grease off of metal parts, but use it outside to avoid the fumes (don’t use it on plastic or rubber parts). If a head bolt has a buildup of stubborn threadlocker, I use an X-Acto blade to trim off the excess between the threads before cleaning it with brake cleaner. Have an ample supply of paper towels nearby when cleaning up. After the parts are cleaned and dried, I use threadlocker when reassembling the head.
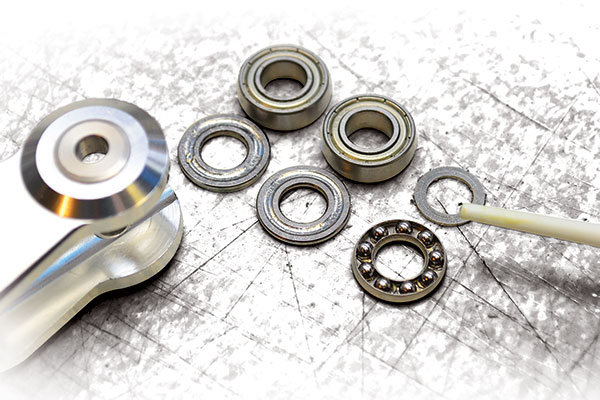
Cleaning and regreasing the radial and thrust bearings from the main blade grips.
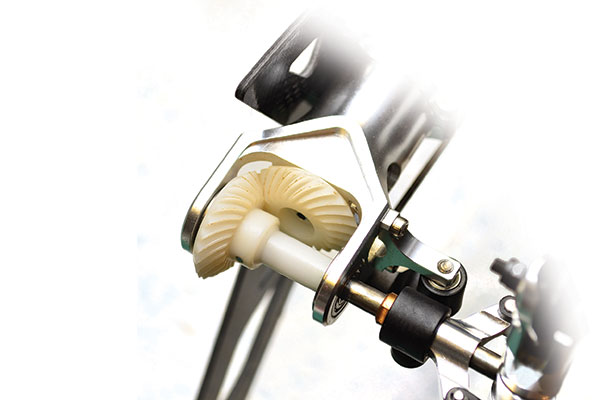
When I’m working on the main rotor, I pull the main shaft out with everything from the swash up in one shot. This makes working on the head slightly easier, but also gives me a chance to check the one-way bearing in the main gear. One-way bearings in main gears/pulleys are typically spindle bearings. These have long rollers arrayed inside of the bearing, with a plastic cage holding it all in place. Occasionally, the plastic cage can develop cracks, which leads to the main shaft slipping on the bearing. I use a magnifying glass to check for any hairline cracks in the plastic, as well as possible cracks in the outer metal part of the bearing. I clean the bearing (with paper towels, no brake cleaner), regrease with my favorite tube of grease, and reassemble. This is also an opportunity to get a good look at the main gear, and make sure it is not unevenly wearing, which can be a sign of a problem with the pinion gear mesh. The most obvious sign of wear in belt drives is fraying along the sides. This is a good indication that the belt needs to be replaced. If there is any fine powder built up around the belt, it may be rubbing against something in the drivetrain. If you see a missing tooth on the belt, replace it. Belt tension is critical, and the belt should be tight enough that it does not skip if you rotate the head while holding the tail. At the same time, you don’t want to tighten it too much. Your helicopter’s manual should give you some indication of how to tighten the belt.
Any dirt stuck in the gears will accelerate wear. Use an old toothbrush to clean these gears.
Inspecting a torque-tube drivetrain involves inspecting the bearings and gears. The common theme when inspecting these types of parts is to look for any unusual wear or cracks. The gears should have all of their teeth and not show any damage. The bearings should all be checked for smoothness, which can be accomplished by pressing on the inner race of the bearing while pushing in the opposite direction on the outer race and rotating it. You will typically be able to feel that notchy feeling if the bearing is damaged. Gear mesh (backlash) is crucial to a smooth torque tube. The gears must be nestled together so that the teeth correctly engage, but not so tight that there is zero play and the gears are difficult to turn. A trick I use is to slide a piece of paper between the gears when I’m setting the backlash. This can work for the backlash of any gears, including the main gear and motor pinion. The procedure for inspecting the tail is similar to checking the main rotor head. I pull the blade grips off to inspect the bearings, regrease the thrust bearings, and reassemble. I make sure that the tail pitch slider slides freely without any binding, and if there is any binding a good place to start looking is the pitch links that connect the tail blade grips to the pitch slider. I review all of the ball links and bell cranks, checking to see if there is any excessive play or if there are cracks that require ball links to be replaced.
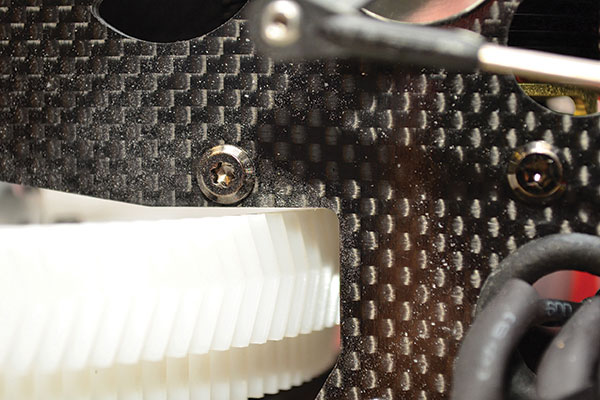
Dust next to a gear can be a sign of trouble. In this case, it was simply normal wear of the main gear.
I run a driver over all of the screws and bolts to ensure that none are coming loose, and finally I trace all of the wiring, looking for any signs of chafing or damage. For nitro-powered helis, I check the motor for signs of leaking from the muffler, head, or backplate. I inspect the fuel lines and replace them if they look slightly worn. I also make sure that the clunk line in the main and header tanks looks good. If the heli will be setting for a while, I add after-run oil in the engine. The maintenance process doesn’t take long, and it is worth it for the peace of mind I get from knowing that my fleet is in top shape and ready for the flying season. Occasionally, this type of maintenance has revealed a potential problem that I was able to fix. The less time I spend repairing crashed helicopters, the more time I spend flying. Fly safely!
Sources:
International Radio Controlled Helicopter Association www.ircha.orgThis Month's Issue

Join the AMA
![]()


Add new comment