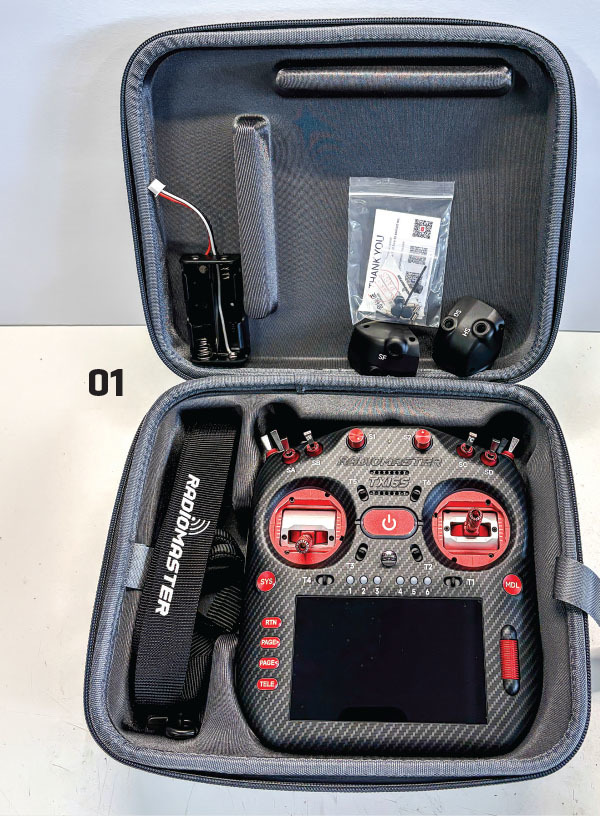
IT’S NO SECRET among my friends that I have "a thing" for radios. I enjoy trying different brands and styles to see how their programming differs and the methodologies that are employed. I contacted RaceDayQuads as soon as preorders for the RadioMaster TX16S MK3 MAX were being taken, and the company followed my order all the way through.
Surprisingly, the feature sets among most brands are very similar even when the programming differs. RadioMaster breaks that trend and has for some time because it uses open-source operating systems (OS) such as OpenTX and EdgeTX. EdgeTX is the "go-to" OS now with its graphical user interface (GUI) environment, and it’s actively supported by the development group. RadioMaster has supported EdgeTX development and compatibility with its radios by supplying them to the developers for testing, etc. This ensures that RadioMaster radios are listed as a supported brand, which means a lot to the end users: us!
I’ve been using the MK2 radio version for a few years. The MK3 is a major step ahead in the TX16S line. I’ll get into more detail later, but this is hardly an "updated" version; it’s a completely new and redesigned radio. It shares the TX16S name, but that’s about it.
A major change is that the MK3 is only available with an internal ExpressLRS (ELRS) module. With the MK3, you no longer have to choose whether you want a multiprotocol module (MPM) or ELRS version of the TX16S. Never fear though—there is a full-size, JR-compatible slot on the back of the radio to accommodate an MPM of your choosing, so you can still have both worlds at your fingertips.
There are so many features on this radio and improvements over previous versions that I’m sure I’ll forget to mention something.
Overview
RadioMaster has done a major redesign of the MK3 radio body itself. The edges are rounded for a much more ergonomic feel. Gone is the sizable ridge on the back edge of the MK2, which I find to be a real bonus for those of us who are "pinchers." It just feels better in my hands than the older versions. The balance of the radio on the neck strap is quite good, but I will add an extended lanyard hook so that it hangs the way I like it to with a 6,200 mAh LiPo battery pack installed.
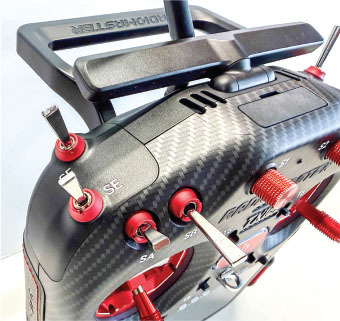
Perhaps the biggest improvement with the MK3 is its new STM32 H7 central processing unit (CPU) and dual-band capability.
You now have three choices in ELRS: Standard, Gemini, and Xrossband. Standard is the default, single-frequency option. If you are new to these modes, however, Gemini is single-band (2.4 GHz or sub-900 MHz), and Xrossband is dual-band (2.4 GHz and sub-900 MHz). There are two antennas on the radio: a folding T-style antenna and the handle houses a second antenna. It also doubles as a nice stand when it’s extended. Within the settings, you can choose which antenna you want to be active or set it to switch between the two. This is a "dumb switch;" it doesn’t automatically select the one with the best signal—it alternates between both.
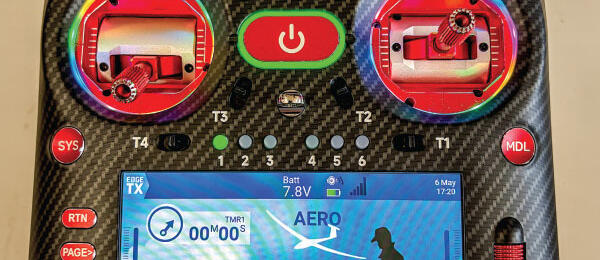
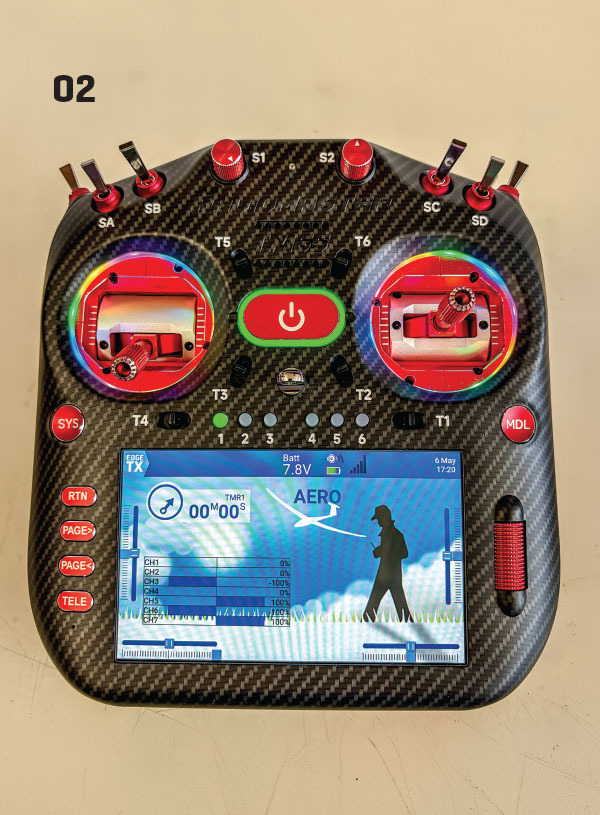
The touchscreen now has an 800 × 480 resolution and is stunning in its clarity. Of course, it’s fully customizable with various preprogrammed themes that you can choose from if you don’t want to design your own. The power button is much larger and lights up, which some might like or others might not like—I love it. The gimbals on my MAX version are new AGO2 aluminum offerings and are clearly a cut above the standard gimbals. The feel is incredible, and they are fully adjustable without going inside the box. RadioMaster also includes some extra springs that are softer if you find that you can’t get the feel you want with the installed springs.
Lighting around the gimbal rings makes the radio quite the showpiece. The cool thing is that you can choose to turn them off or you can customize them to your liking. I programmed mine to turn red when a motor is armed and green when it’s disarmed.
Another major change in this radio is the internal memory opposed to running it from an SD card. The first units released were 4 GB, but future distributions will be 512 MB because of chip costs and availability, which was recently announced by RadioMaster. At first glance, that might seem like a drastic change, but checking my older MK2 radio, I can see that I have 25 active models and another 48 deleted models that still reside on the SD card and it only uses 120 MB. The MK2 does everything from the SD card, whereas the MK3 uses internal memory, but it still has an SD card should you ever exceed the space provided.
Using an SD card disables the internal memory, so everything runs from that. The only thing that would fill the internal memory would be if you accumulate too many log files without cleaning them out or add a ton of images in a larger resolution than what is required. (FYI, the images on the MK3 are 400 × 320, so they’re bigger than the MK2, but they don’t take up much room. That’s a long way of saying that I don’t see the upcoming change as a big deal.)
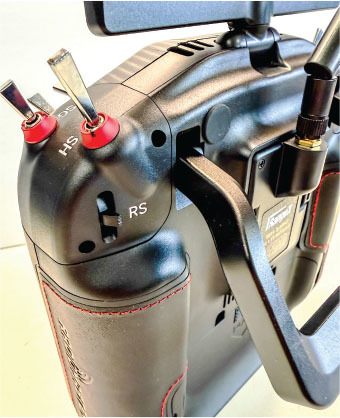
I mentioned ergonomics earlier. This is a biggie for me with the new radio. It’s just head and shoulders above the previous versions of the TX16S. The curved sides removed all of the sharp corners that bothered me on the MK2. More than that, though, the buttons are all more easily identifiable by touch and position. The only thing that might be harder to adjust to are the two sliders that have been moved around to the back of the radio. If you’re a thumb flier, it might not matter. They are fairly flush, and there are STM files that are available for 3D-printing longer ones. The trim levers are so much easier to find and use on the MK3; they protrude farther from the case and have a distinctive feel. I love them!
Programmability of the MK3 is a game changer in so many ways. Not only does EdgeTX offer seemingly unlimited inputs, mixes, and outputs, but it also allows you to do countless logical switches and assignments of their functions. If you don’t like the colors of the lights around the gimbals or the six switch buttons, you can just change them or turn them off. Voices are simply a matter of downloading a different sound pack until you find the one you like. You could even do your own using simple programs that are available for free. Going into the full functionality of EdgeTX and ELRS is well beyond the scope of any one article. There is a learning curve, but resources are available on social media and there are videos to cover almost any question.
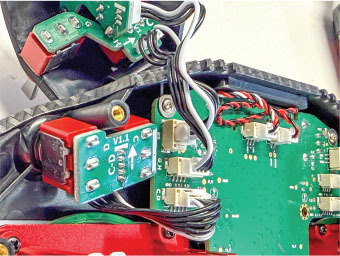
User serviceability is a unique feature for radios today. All of the components are readily available, and RadioMaster encourages users to replace components on their own if it’s necessary.
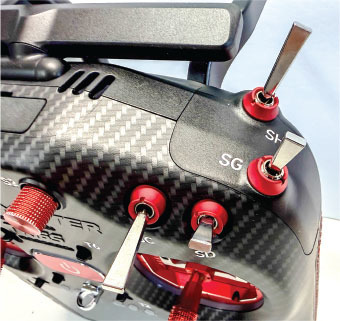
The radio comes with two shoulder switch holders that can replace the existing ones if you decide that you don’t want sliders. I swapped out the SH switch, which is momentary for a two-position switch since that is where every radio I own has one for throttle cut. I ordered a set from the manufacturer complete with a harness for approximately $6. The motherboard has regular connector plugs for easy removal and replacement—no soldering is required.
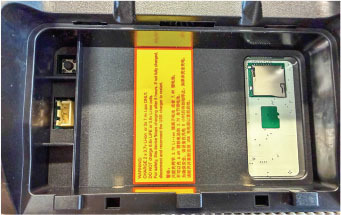
The radio does not ship with a battery, but it comes with a battery holder to accommodate two 18650 batteries. You can opt for a 2S LiPo battery, which is what I got, so that there is a solid 6,200 mAh pack in the back. The radio balance-charges through the single USB-C port on top of the radio. This is a major change since previous versions had the charge port on the bottom and the computer access port on the top. Now there is one port that’s easily accessible for doing everything. Behind that rubber protective cover, there are also ports for wired training and headphones.
There is an ambient light sensor between the two knobs on the top front of the radio that automatically adjusts the screen brightness as necessary. This can be enabled or disabled in the Special Functions menu. There is also a two-axis tilt sensor in the radio that will exploit future developments in EdgeTX, but it seems limited in use at this time—at least that’s my experience. I’m open to being corrected.
Usability
A radio can have all of the bells and whistles in the world, but if it’s not easily usable, it’s not much good. The MK3 excels at usability. The program buttons on the front have changed and are a bit more flush with the surface of the radio, but they are easily accessible. I prefer them to the raised buttons, and they have a distinctive feel.
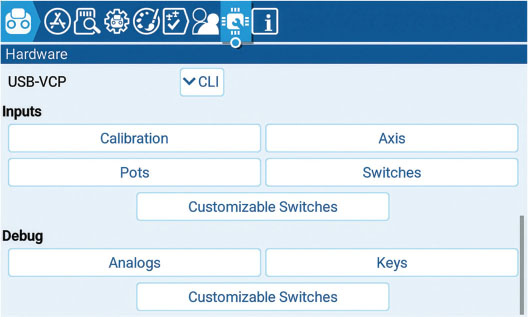
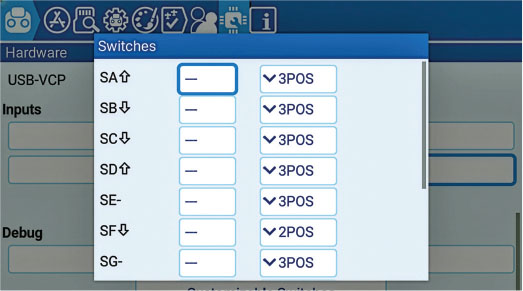
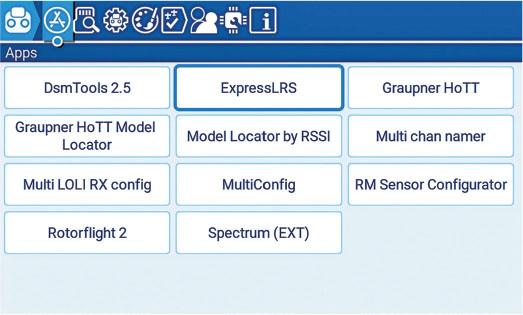
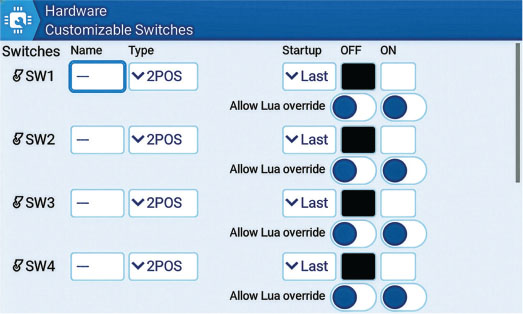
The "jog wheel" is anodized aluminum and has a positive feel. One caution though: It’s relatively close to the touchscreen and it is possible to hit that with the tip of your thumb if you’re not careful. I’ve not had any instance where I changed something by accident when I contacted the edge of the screen, but I suppose it’s possible. The screen isn’t recessed like previous versions, so there isn’t any protection from touching it while you are flying. You can set up a special function to turn the touchscreen off when it’s desired. I have not done that, but it’s an option. I haven’t had a problem with it while I’m flying.
In full-scale aviation, we used to practice "blind cockpit drills" so that if we needed to find a switch or something without seeing it, we could do it by touch. The MK3 passes that test for me with its layout and distinctive feel for various switches, etc. It means that I can do almost any change or trim function without ever taking my eyes off of the airplane—and that’s big!
I have updated the firmware for EdgeTX to the latest release, along with updating it to ELRS 4.0, which went without problem. Because I also installed the four-in-one MPM in the JR bay on the back, I updated that to the latest firmware version as well. Keep in mind that if you update to ELRS 4.0, you’ll need to update any receivers that you have in use to the same version. They are not backward-compatible. Likewise, if you have receivers in use that are already on 4.0, the MK3 will not talk to them without an update because it comes with 3.6 installed. Fortunately, updating the transmitter and receivers is easy via Wi-Fi.
Final Thoughts
It’s been a long time since I’ve bought something that I’ve been as happy with as I am with the RadioMaster TX16S MK3 MAX. When you change radios, there’s always the question in the back of your mind as to whether you’re making the right decision—you don’t have to worry here! The community support for questions about updating or programming needs is phenomenal. Many of the EdgeTX developers themselves monitor the various forums and weigh in with suggestions and corrections.
The bottom line is that if you’re thinking of moving to a new radio and ELRS, you would do well to give this one serious consideration. ELRS has been used in the FPV drone racing world for some time, and now it’s making huge strides in the fixed-wing and helicopter worlds with the availability of pulse-width modulation (PWM) receivers.







Comments
Add new comment