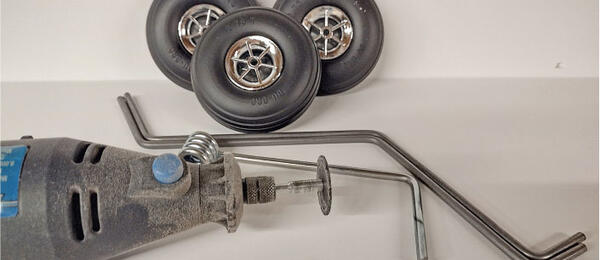
STAN ALEXANDER([email protected]) is sure that there are several ways to accomplish wheel collars, a small but important part of any model assembly, but the following is the way he was taught, and it’s worked well for him throughout the years.
"Why bother with this step?" you ask. Well, you don’t want to be flying at your field and have a wheel fall off during flight. The chances of finding it are approximately 20% or less, and sometimes you can tear up the model or take the chance of having the wing damaged without that important part of the landing gear.
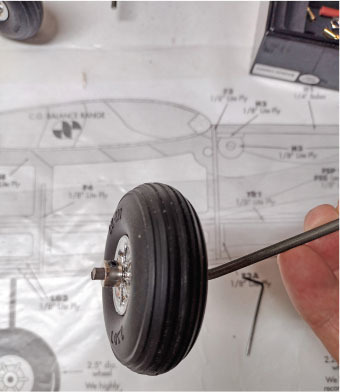
First, clean the axle where you will be working with a cleaner or alcohol. After you have a clean surface to work on, put the wheel collar on the axle at the inside-most point where you want the wheel to be located.
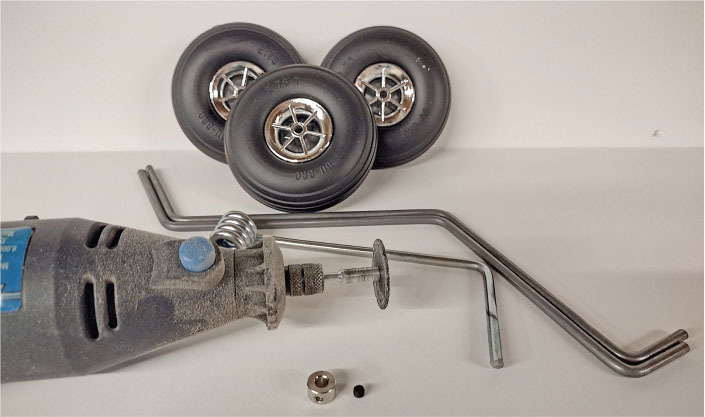
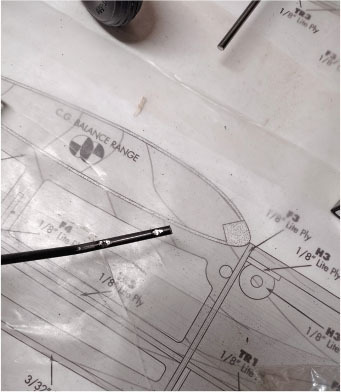
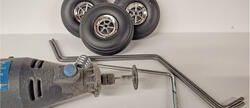
Use a fine-tip Magic Marker and mark where you will be cutting a groove into the axle. I do this for the inside wheel collar first then assemble it and put the wheel on for the second mark with the marker. Remove the wheel and secure it with either vise grips or a vise, and then use a cutoff wheel or grinder on a Dremel-type tool.
It doesn’t take a very deep cut, as you can see in the photo. Take your time while cutting the mounting point for the wheel collar; you don’t want to cut too much out— only enough to make a small, flat spot on the axle that gives you a good point to mount the set screw to the wheel collar.
Always mount the set screw position so that the screw is at the 12 o’clock position. After you are happy with the position, add a drop of red Loctite threadlocker to the hole for the set screw and put it in. Tighten the set screw then check that the wheel rolls freely. If it doesn’t, adjust it to your preference.
It’s always a good idea to check these at least every spring before flying season starts so that you don’t have any surprises! This should give you free-rolling wheels for many flights to come.
SOURCES:
Dremel




Comments
Add new comment